My hubby turned the big 35 this year and I of course was in charge of the decor for his surprise Birthday party, which he promptly revealed did not surprise him at all. God I hate surprise parties!
I wanted to create something beautiful yet manly for the night, keeping his personality in mind. Golf being his other love, I decided to go with that as a theme, trying to keep the cheesy factor to a minimum.
Here is a tutorial on how to achieve this look.
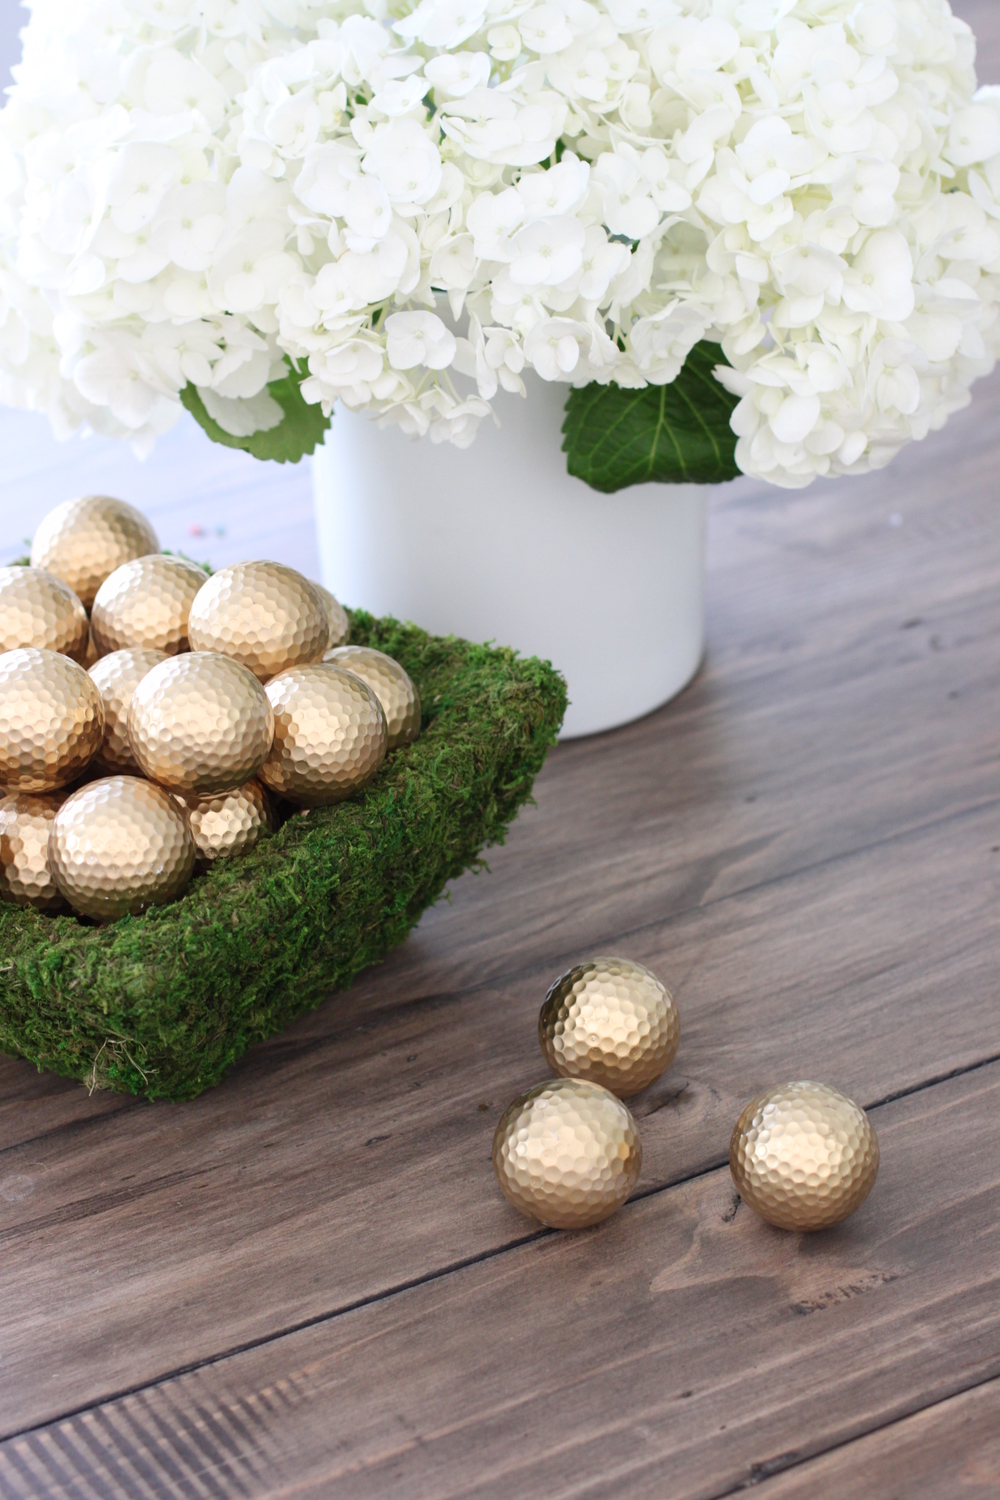
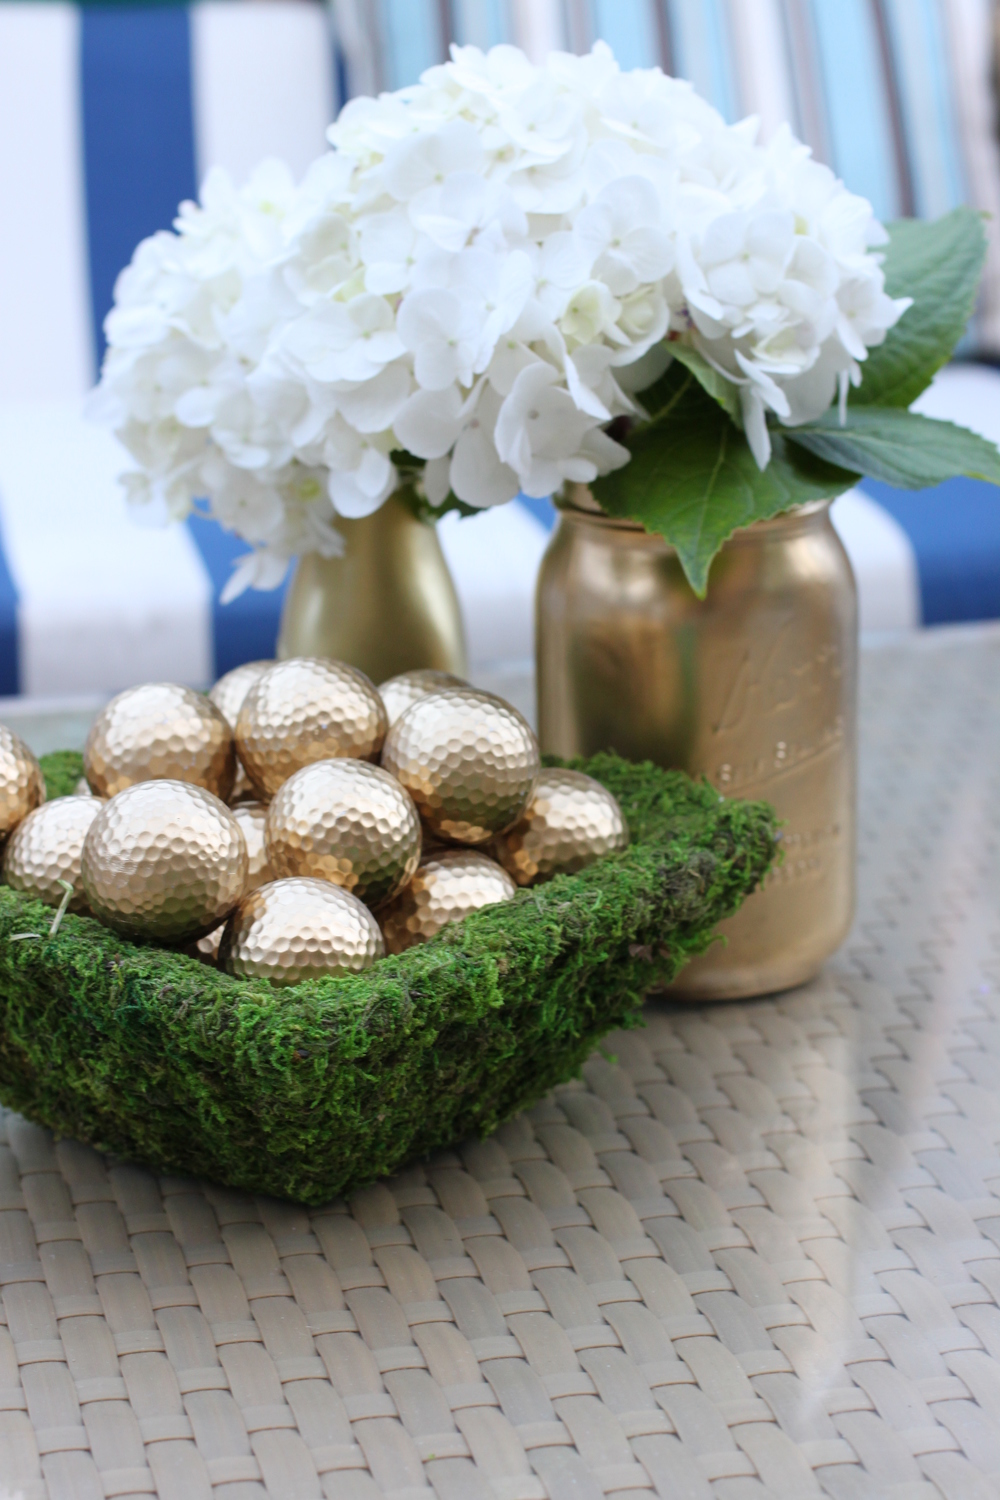
Look #1 – Moss baskets with painted golf balls, painted mason jars
Materials:
– Used golf balls (don’t waste your money on buying new balls, which are very expensive. Go to your local driving range and ask to purchase their used ones. I paid .60 cents per ball x 100 balls. New balls will run you $3 a piece!
– Moss baskets – these can be found online or at your flower mart (if you have one in your area.) They are $4-$10 each and come in numerous shapes and sizes.
– Mason jars – you can pick these up at a craft store for about $2.99 a piece or online
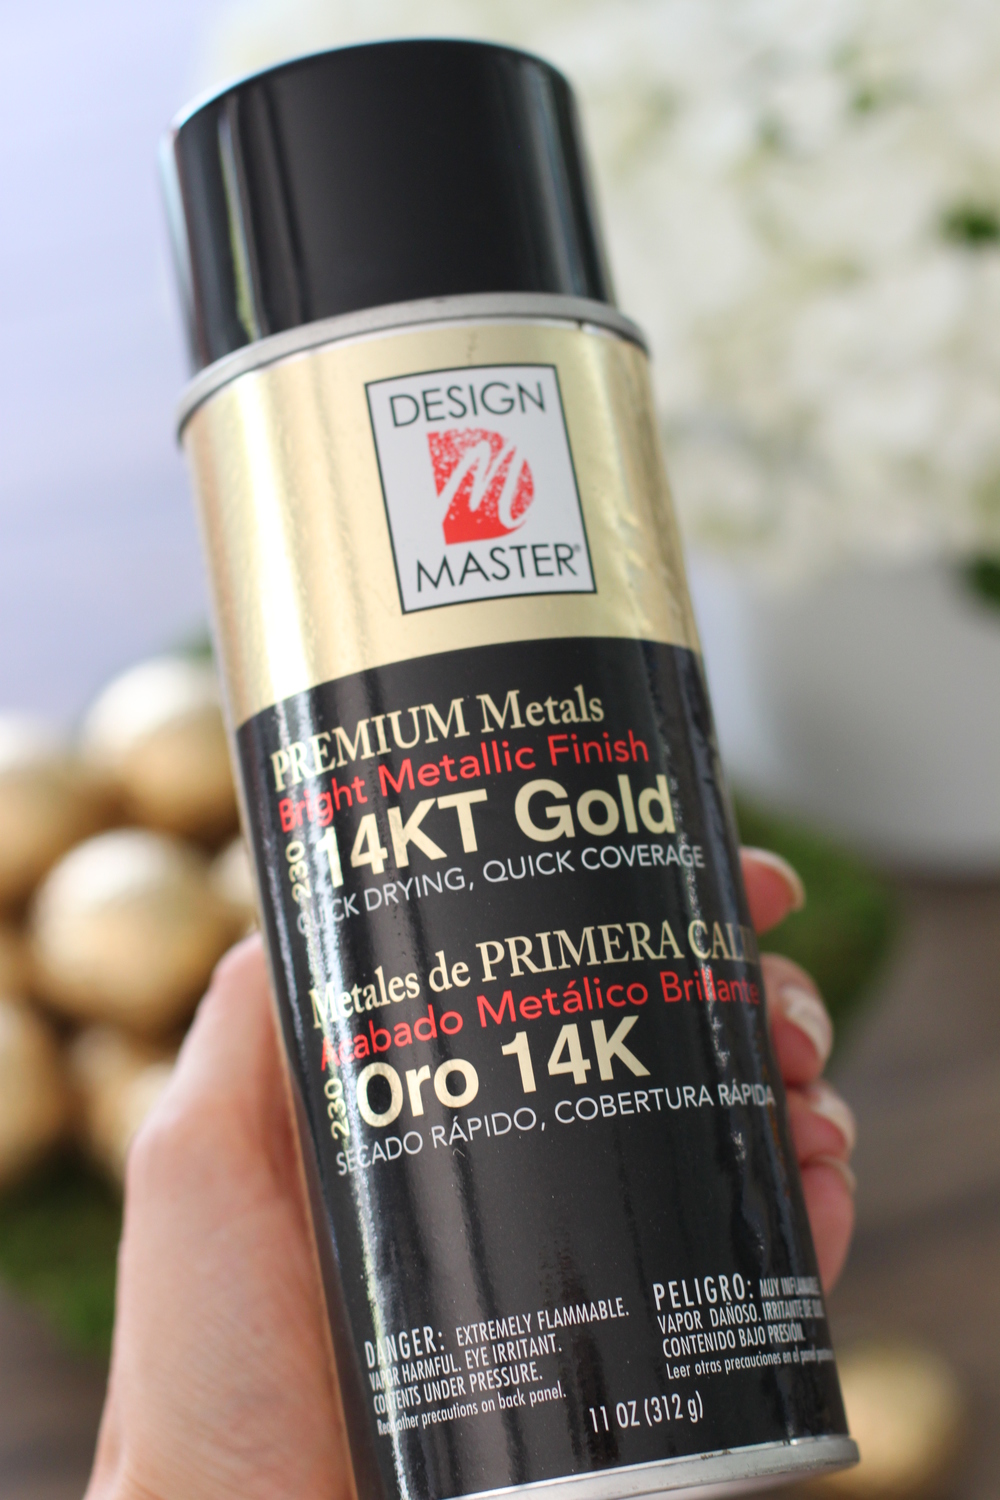
– Spray paint. I loved the ‘Design Master’ brand I used, because the gold color has a bronzy, high end look. Some other golds can look too yellow and tacky.
1. Lay out your balls about half an inch apart on card board or any old towel/material you will throw out later. Spray the top halves with one layer and let dry. Repeat this for another layer and let dry again before turning each ball upside down to the unpainted side. Repeat the same 2 layer spray process and let dry. You’re done!
2. Now do the same for your jars. I spray those one at a time doing the bottom half first, but it’s really just a personal preference.
3. Now to assemble your baskets and mason jars. Once at your event location, fill your moss baskets with the painted balls, stacking them up like a pyramid, keeping it symmetrical. Next, fill your mason jars with hydrangeas. I used just one step per jar and putting multiple jars of different sizes around each moss basket.
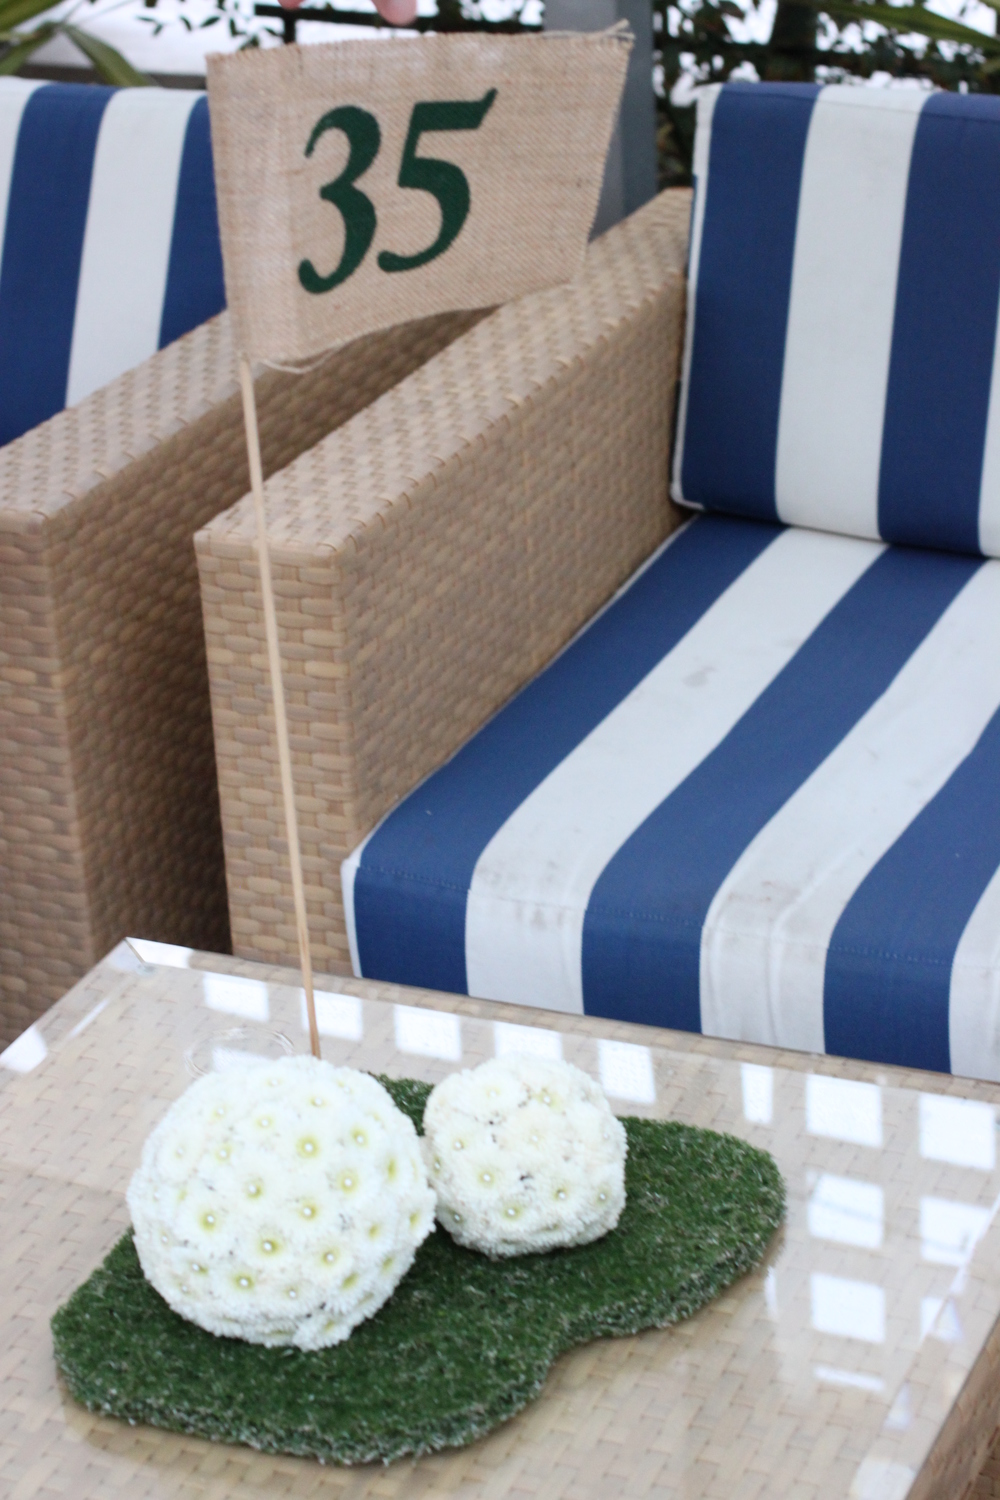
Look #2 – ‘Putting green with flag and gold balls’
Materials:
– Burlap fabric (stiff) this is what your flags will be made out of
– Dark green acrylic paint and paint brushes
– Wooden stick (your flag pole) available at Joanne’s or Michael’s
– hot glue gun
– moss square cut out (your putting green)
– Oasis water foam balls and white button mums for your flower golf balls
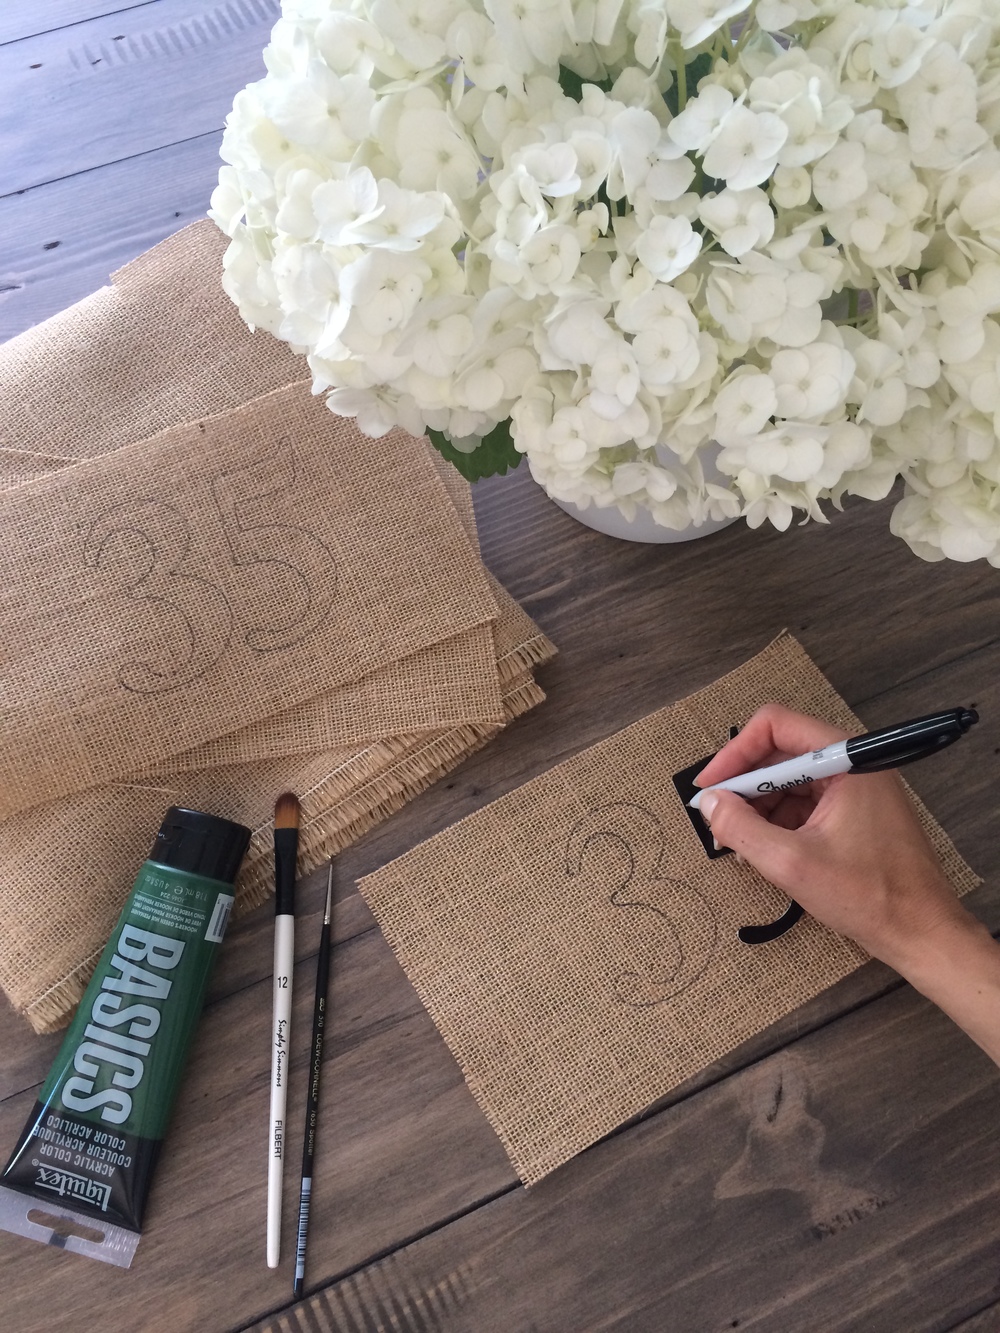
Step 1 – Flags
– Using your computer, print out the number your want for your flag on a thick card board to trace around. You can also buy wooden or plastic numbers to trace or get a perforation ruler with numbers.
– Cut out rectangular pieces of the same size out of your burlap fabric, keeping them about an inch longer than the desired end result (you will need a bit to fold over the wooden stick)
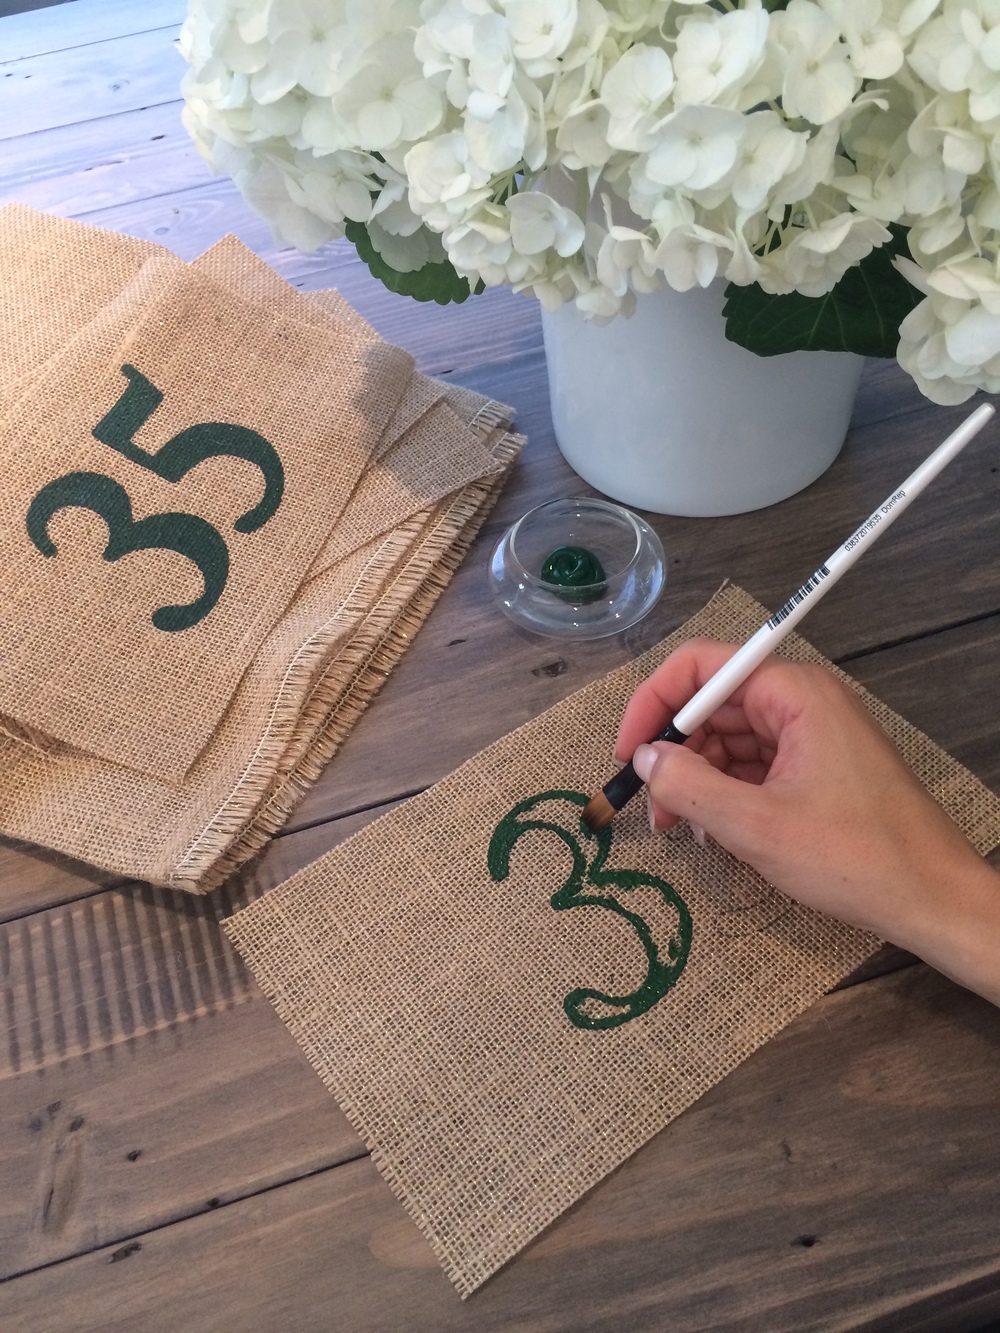
– Trace your numbers onto the flags and then paint them with your desired color paint
– After your flags are dry, heat up your glue gun and take out your wooden sticks
– Measuring the length of the side of your flag, apply that length of glue along your wooden stick and quickly place the very end side of your flag onto it. Let dry. Now apply another line of glue to the length of the fabric closest to the wood and wrap it around until the glue is hidden. Repeat this until you have the fabric going all the way around once, hiding all of the wood. Your flag is done!
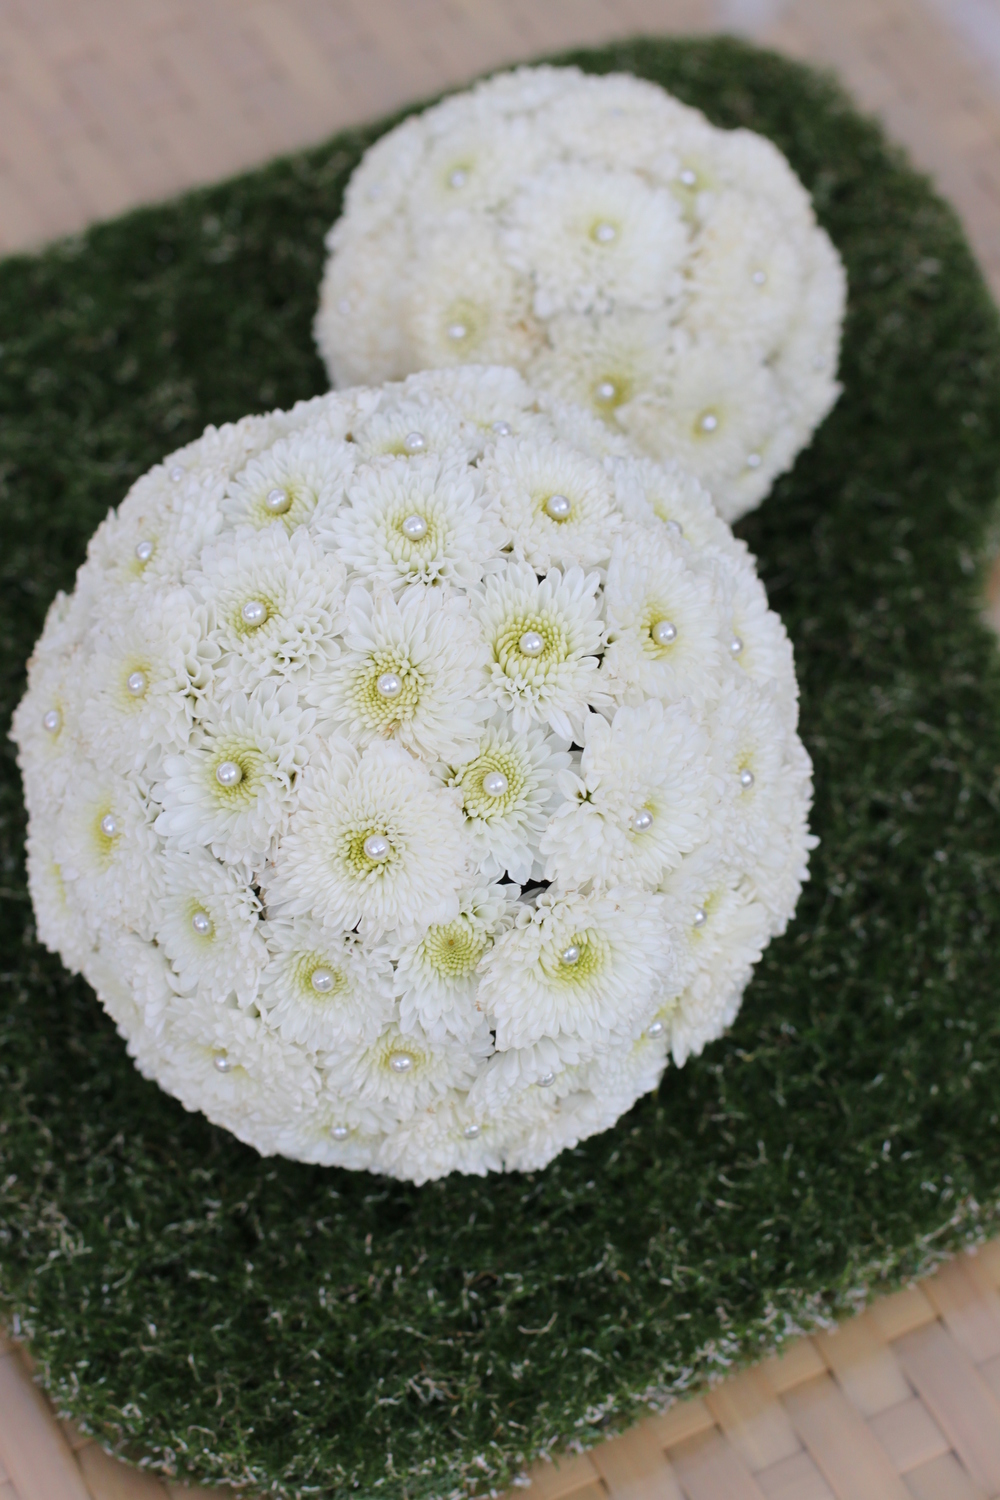
Step 2 – Flower Golf Balls
– You will use Button Mums for this arrangement. I love working with these because they have everything you wish every flower had: they are cheap, have strong stems, so you don’t have to worry about them breaking in the oasis foam, and they will stay fresh forever. Now don’t we wish we could say all of these things about Peonies! 🙂
– Soak your oasis balls in water for 5 minutes. I liked using two different sizes for my project to give the look more depth.
– take your ball out and place it on top of a vase opening, measuring about half its width, to make a pedestal holder for it, while you will be working on it.
– Prep your flowers by cutting of the stem, leaving about an inch to work with.
– Start placing your flowers into the oasis ball at the very top and going down in circles around the ball.
– Once you are half way done, please your pearl pins into the finished part of the ball, right in the center of each flower. I do this half way through, so that I don’t have to dig all the way down the ball later when the whole ball is done.
– Flip your ball over and fill the other half with flowers and repeat the pin process. You are all done! I recommend placing the balls into your fridge until the event time to keep them extra fresh. The great thing about button mums is that they will stay fresh for a long time, so you can have a beautiful arrangement for sometimes over two weeks after the event will be over.
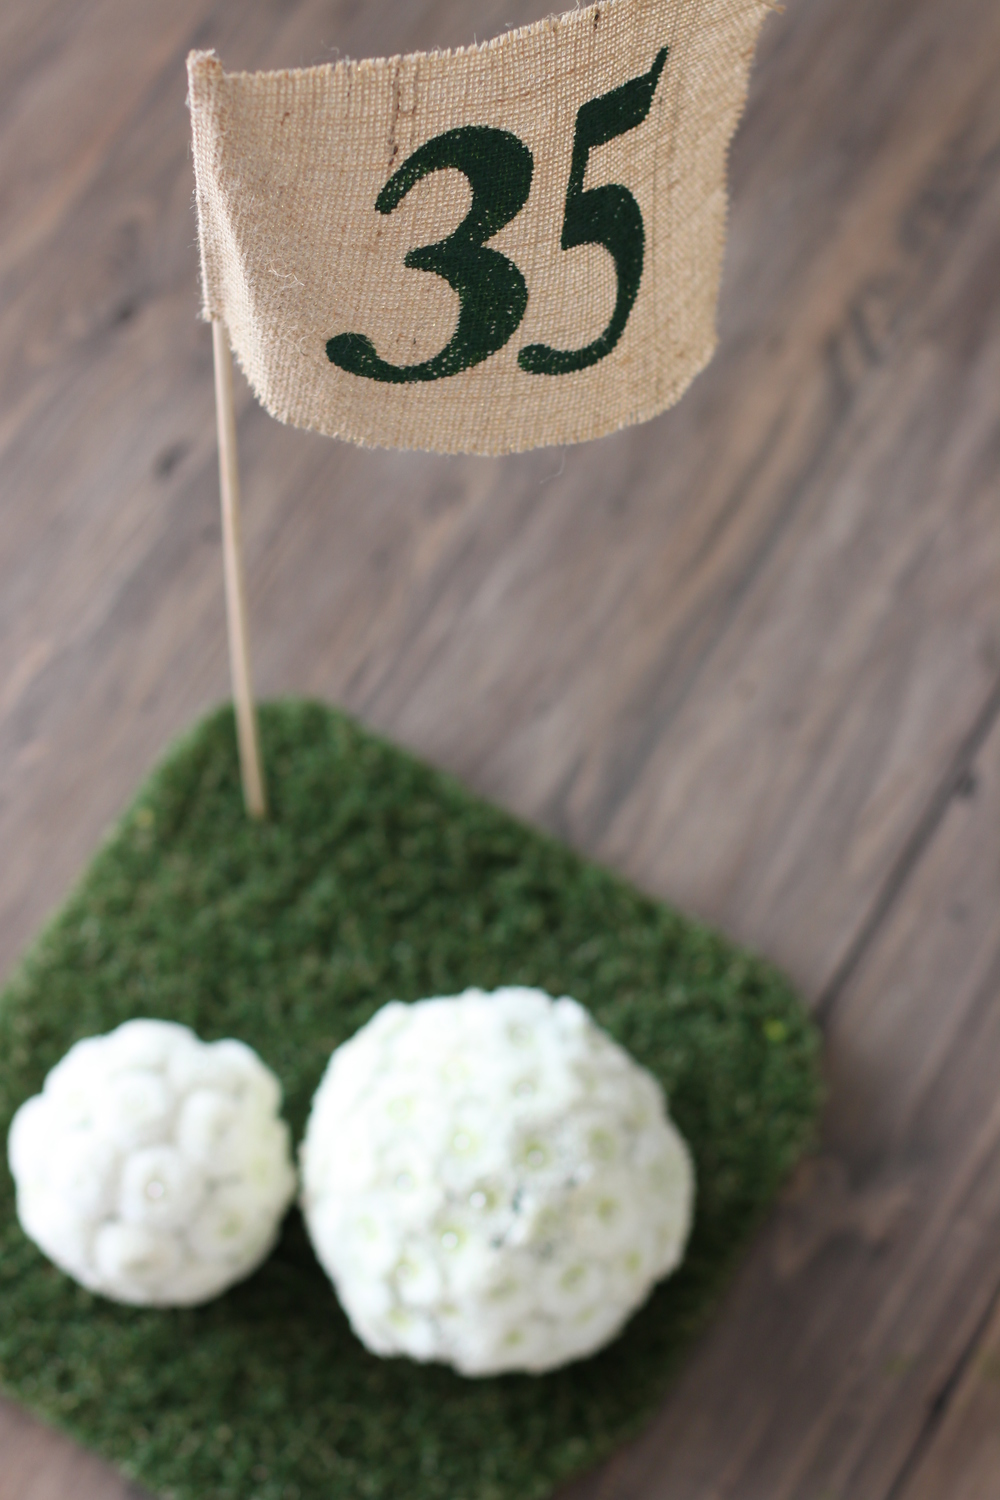
Your finished look is soft, yet masculine and most importantly very personal. Eric loved his decorations, which funny enough was the only surprise of his surprise party 🙂
Thanks for reading,
-Veronica