HOW TO UPDATE YOUR WALL DECOR WITH AN EASY DIY PAINTING
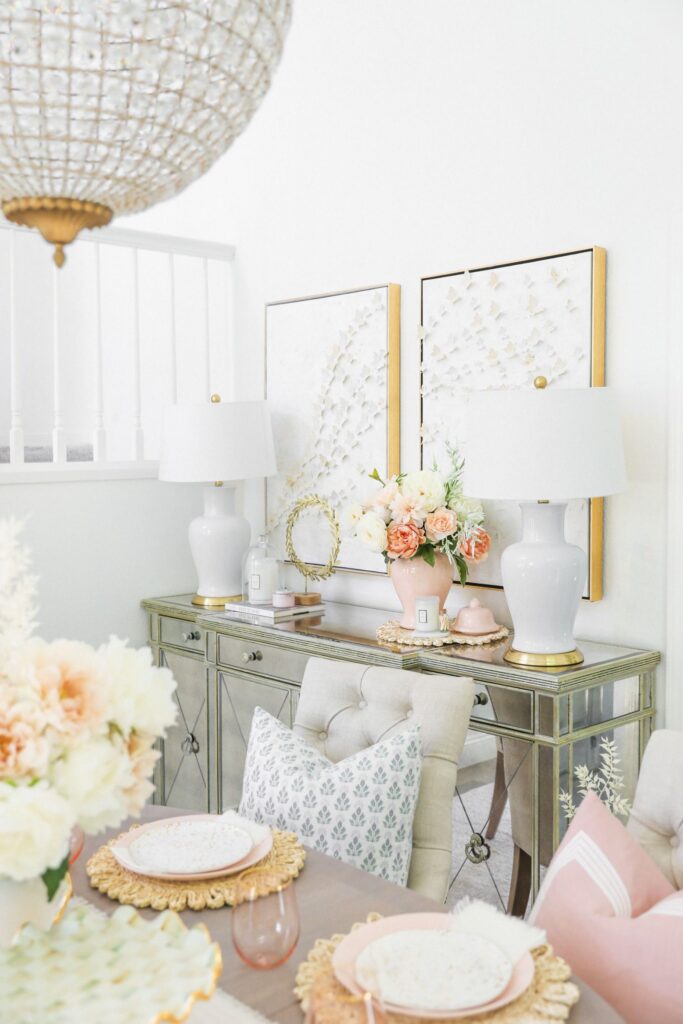
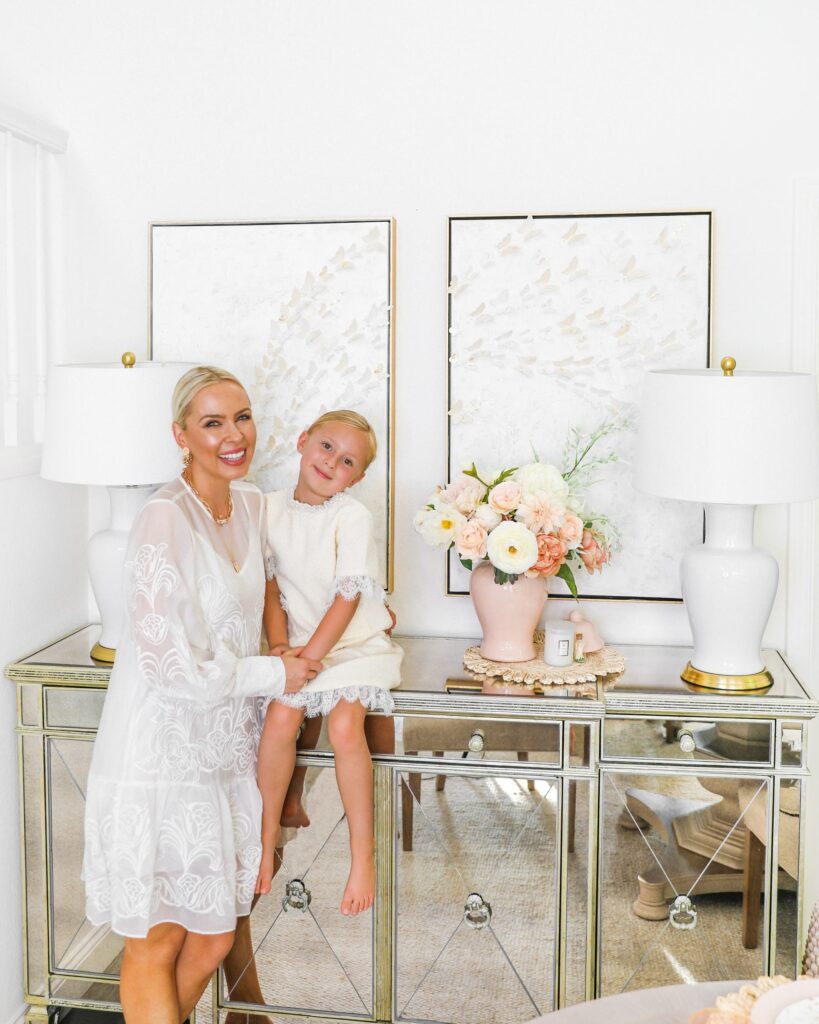
A big silver lining of more time at home has been tackling a few DIY projects on my list. One of which was to update our dining room a bit, (see the BEFORE HERE!) but without breaking the bank.
I used to paint quite a bit and I’ve been wanting to take my existing dining room artwork from Homegoods and paint over it. Yes, paint over my existing art! This is one of my all-time favorite DIY budget hacks! I think I paid around $30 for each of the blush and black paintings. My goal was to give them a high-end custom look! Why do I love this hack so much? The framing around a canvas like this would be very expensive, so if you just painted a “fresh” canvas and then went to get it framed it would be in the hundreds of dollars. But, with endless affordable Homegoods, World Market, TJ Maxx options, you can find an amazing “skeleton” for your project for well under $50! So, ready to update your wall decor?
Here are some great affordable options for a project like this. Remember, we’re just looking for the perfect framing here, but you also want to make sure the overall texture of the artwork will work with what you’ve got in mind. Look for an exposed canvas that you can paint over, not something that’s under glass!
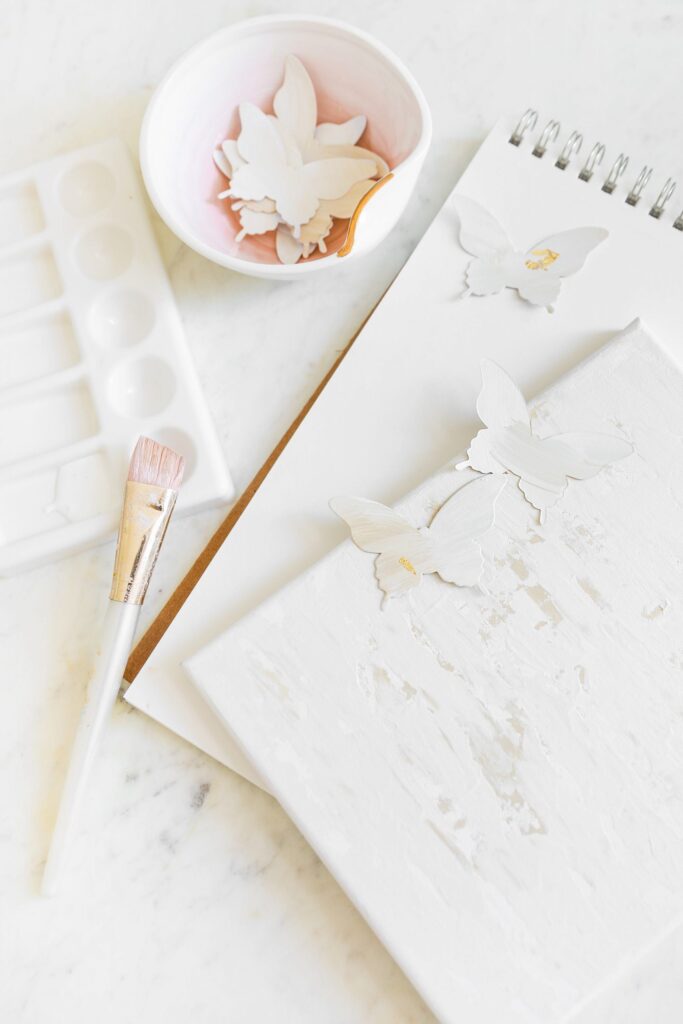
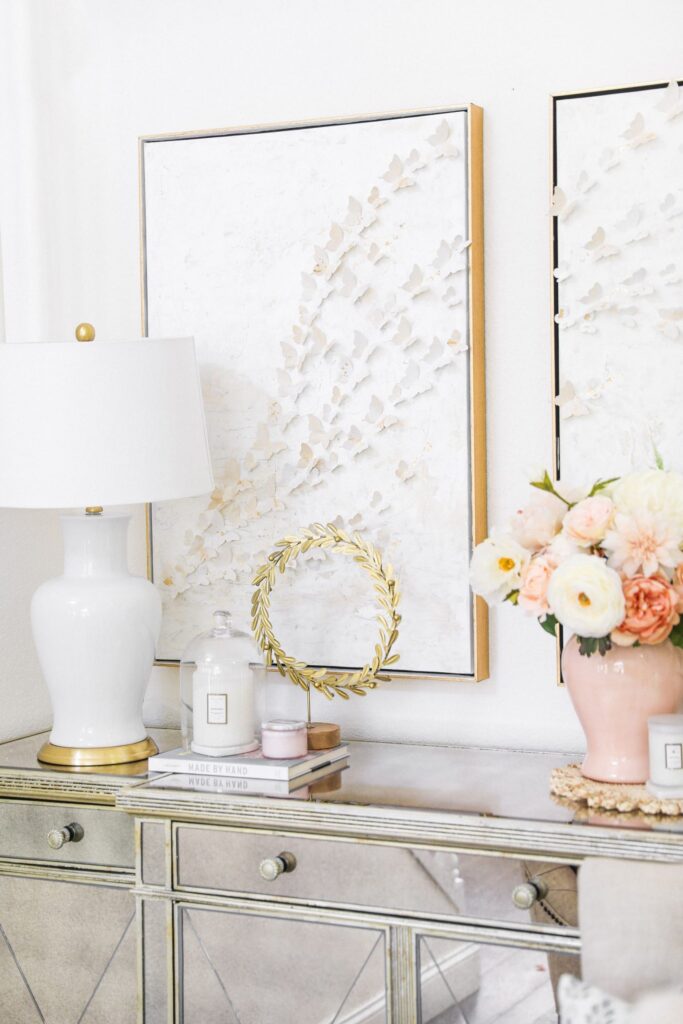
Here are all the supplies you will need to create this 3D butterfly painting. I went with a neutral color scheme, but it would also look so great in brighter hues! Shop all the supplies below.
Use blue tape to tape around the outer frame, and tucking the edge where it meets the canvas. This will protect the outer frame from the paint, while you work on the project. Simply remove it when you’re all done.
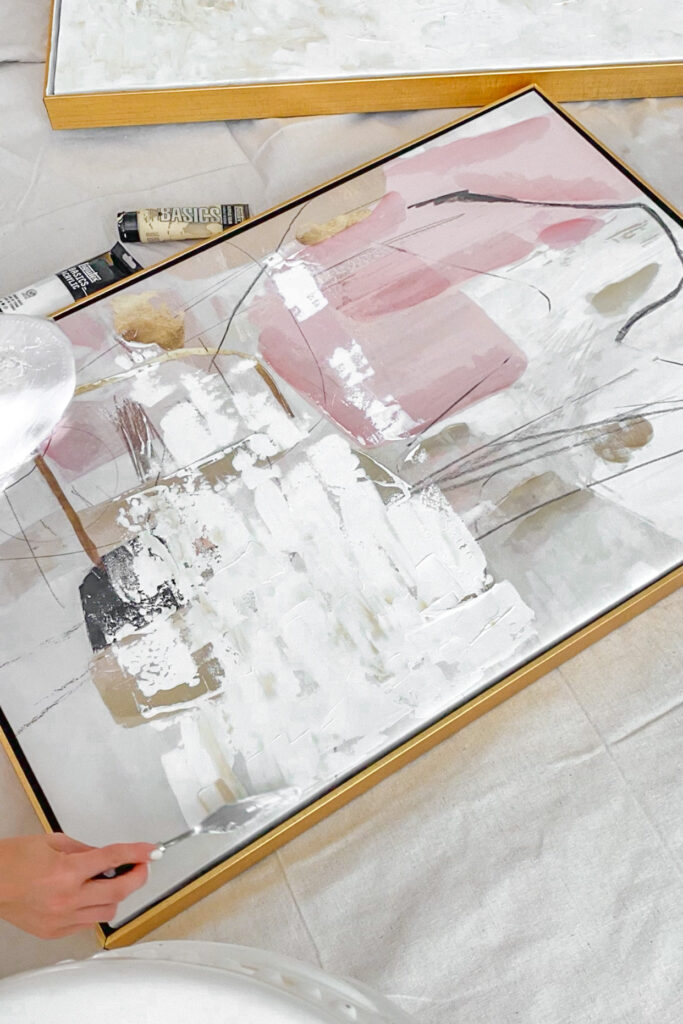
This is much easier than it might look, and since your end goal is an abstract look, there is literally no way to mess this up. Simply squeeze several dobs of paint on the canvas as you go, and then lightly swipe the palette knife either horizontally or vertically, depending on your design, and make your way through the whole canvas, as you keep adding paint on in layers. Add more layers as needed after the initial one dries, if you’re still seeing any of the original design peeking through. Here are a few easy to follow DIY abstract painting videos, if you would like a detailed visual. (ONE, TWO) These really helped me to figure out how much if which paint to use and how to layer the paint.
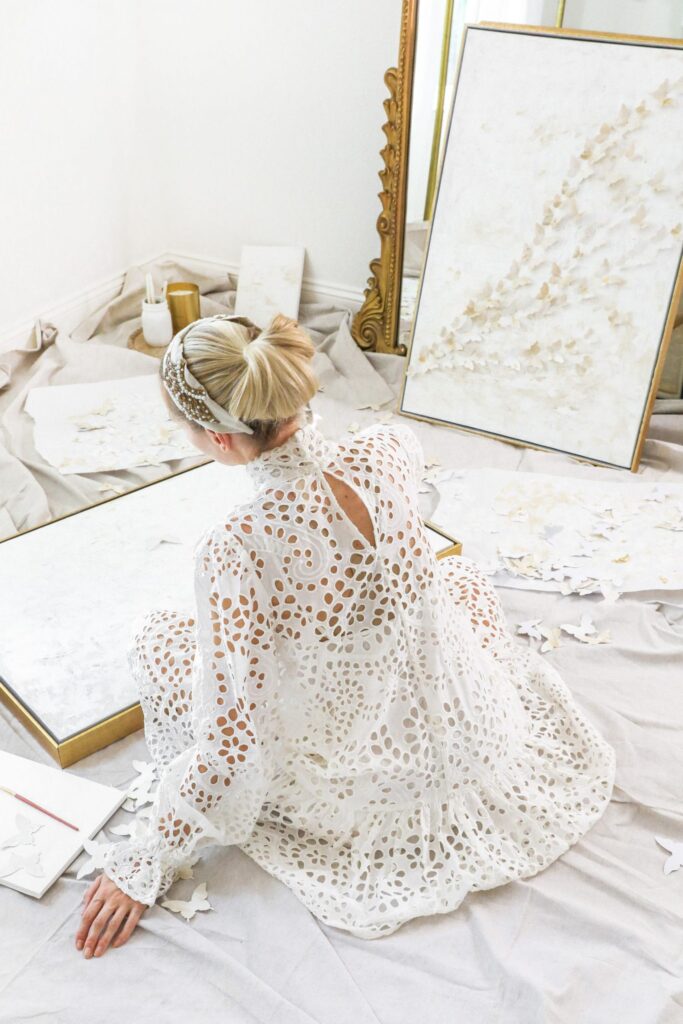
Finally, getting to the more creative parts! I quickly noticed that if I can just glue my white paper butterflies to the canvas, they would look kind of cheesy and cheap, so I opted to paint each one to match the background paint. I highly recommend this, as it pulled the whole painting together and what I think gives the finished product a very high-end look. Squeeze however many colors you want for your ombre butterfly to have, so that all the paint is touching. Dab your flat paint brush in your multiple colors (or make some all one color) and drag the brush over the butterfly for a streaked ombre look. This looks time consuming but didn’t take long at all! You can paint your butterflies a solid color too of course, but they won’t have as much depth and texture.
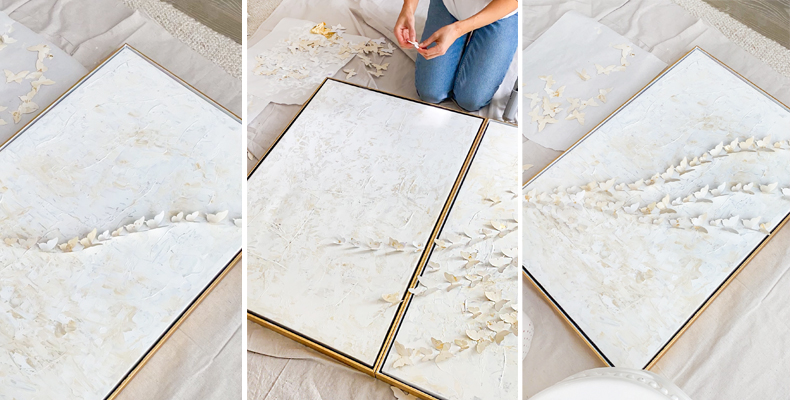
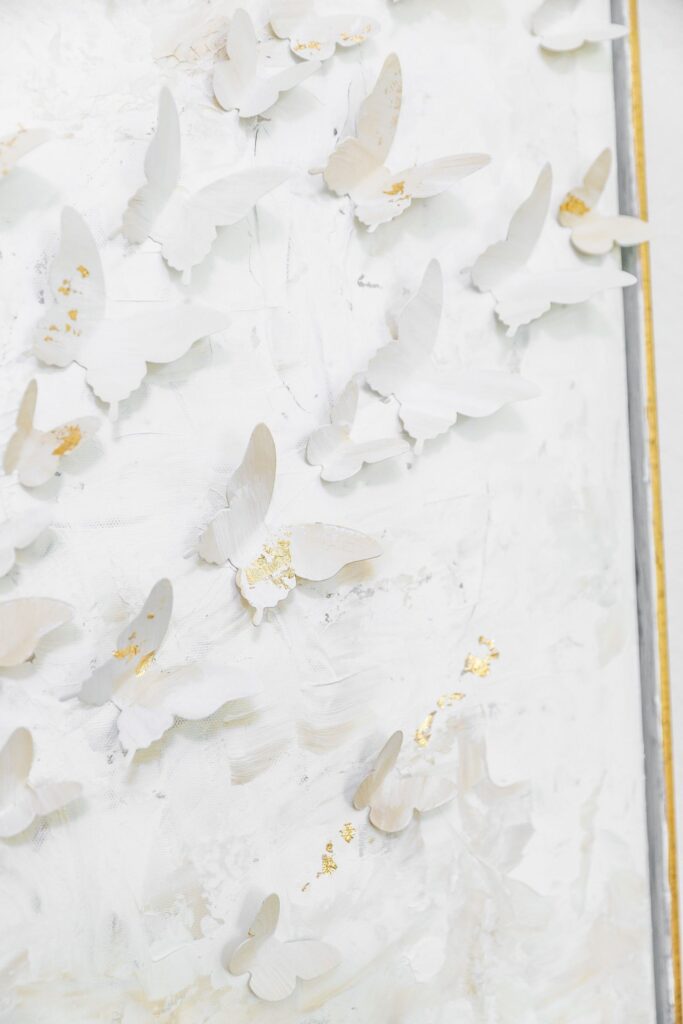
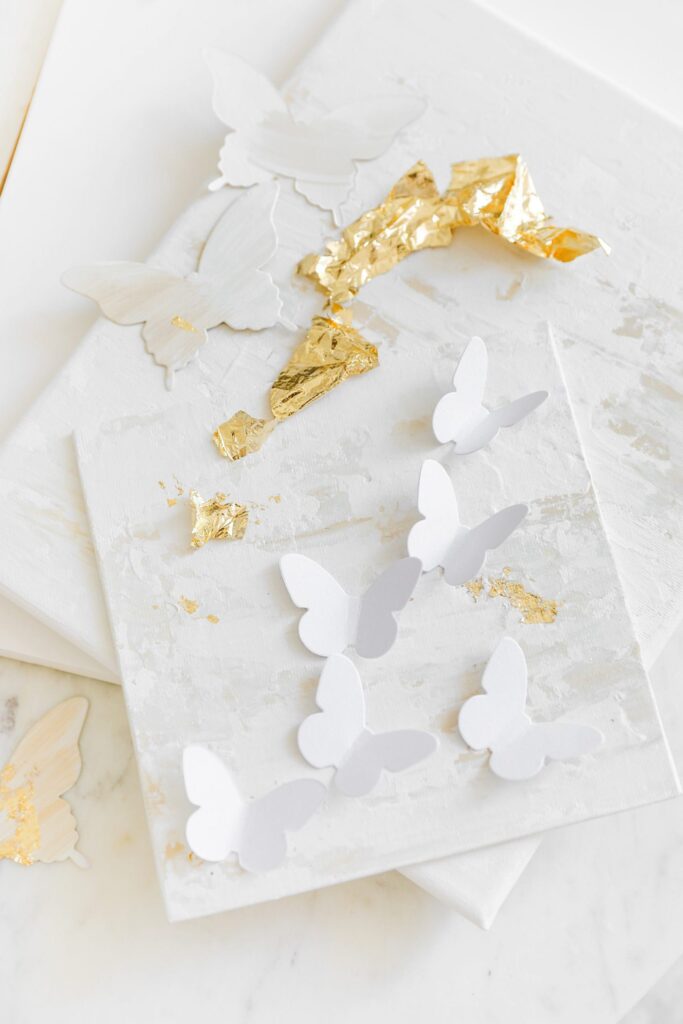
Get your hot glue gun ready and grab a pencil. This is where your creativity can go wherever you want. Using your pencil, very lightly draw out single faint lines for where your butterflies will be ‘flying’. I did one line at a time, starting with a largest middle line, then glued, so that I could see progress and have less marks on my canvas. If you are working on two canvases like I did here, lay them touching when you create your lines, to achieve that perfect design continuation, dragging your line from one canvas to the other in a single motion. Bend your butterfly wings toward each other to get them ready to glue down. (get your kids to help with this!) Hot glue works perfectly for this project because it dries instantly and adheres great to any surface. Apply a single dot to the center bottom of the butterfly and glue down. You will do this one at a time, as the glue dries instantly. I recommend alternating your butterfly size and how far apart you make them “fly” to create more depth and texture to the painting.
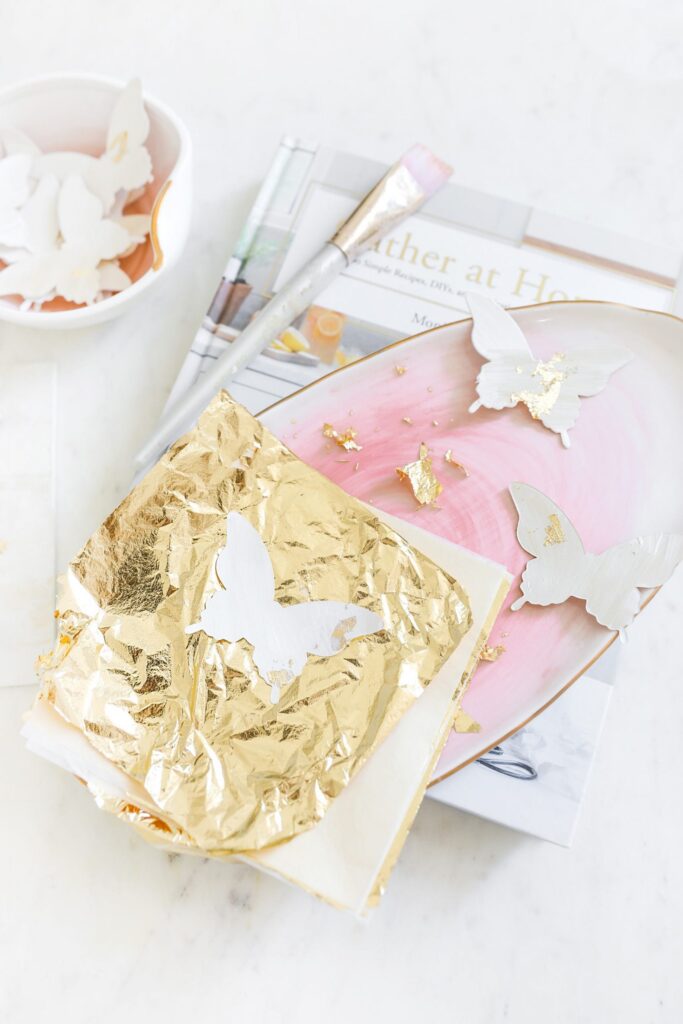
Adding sparkle and texture. I was so excited to find these gold gilding sheets on Amazon. I always thought gilding was super expensive and was pleasantly surprised at the quality of this $10 pack! This is another hack that looks hard but is super simple. To achieve a textured and ‘ripped’ gilded look, start by dabbing or streaking your canvas with a bit of modge podge or even just paint. The gilded sheet just needs something wet to stick to, however it doesn’t have to be glue. Once it dries, it will stay on. Now, using your fingertips, tear of a little bit of your gilded sheet and lay it on top of your canvas where it’s wet. Give it a few seconds and then tap the edges with your fingers, rubbing a bit back and forth, which will create little rips, so the excess sheet will fall off leaving only your abstract design. I loved adding these little touches of sparkle to my painting! Less is definitely more with gilding in my opinion though! You can go from high end to tacky real quick!
There you have it! Your very own custom artwork, under $100! Hope you enjoyed this post and happy DIYing!