It’s my favorite time of the year! A time when the holidays roll in and my hot glue gun comes out for some DIY fun! The ombre pumpkin postI did last year (which was recently featured in Parade Magazine) was such a hit, I knew I wanted to recreate it in a new way this fall. My main priority was to keep the project affordable while looking as luxe and over the top as possible. Aka, ballin’ on a budget honey!
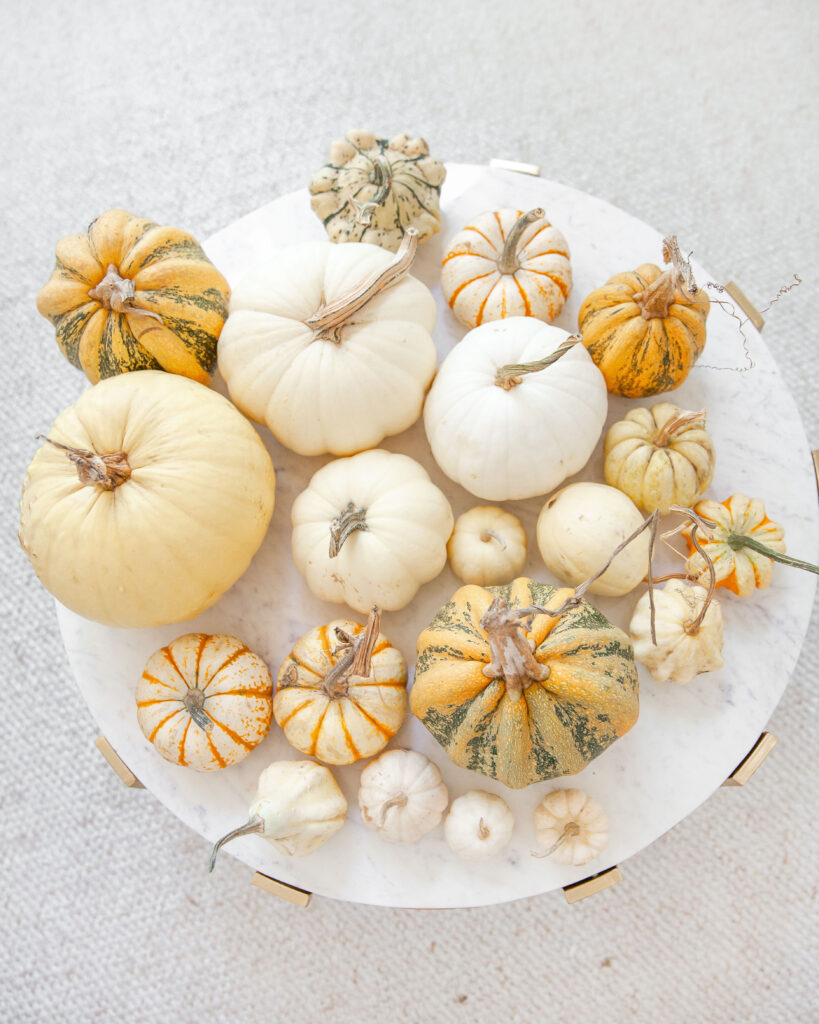
Pumpkins!! If you have an option, I recommend avoiding bright orange pumpkins for this project. You can use them, but you will need to double up on your layers of paint, and will have to stick to exclusively chalk paint. The wax won’t work because it’s seminary’s transparent.
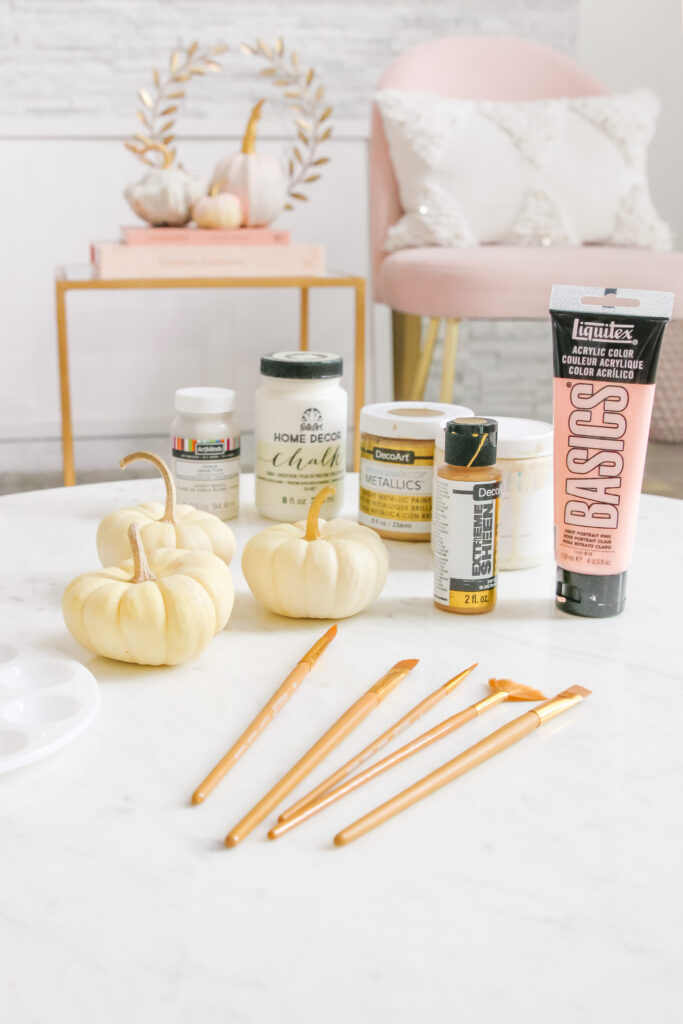
First thing’s first, buy and prep your pumpkins! You can go big and get lots of pumpkins like I did, or make just a few statement ones for your holiday table scape. One thing I would recommend is looking for pumpkins which have the stem still attached. They always come out looking more whimsical and special. And what’s ‘pumpkin prep’ you ask? Well if you want them to last longer than a few weeks, you need to disinfect them. Click HEREfor an easy step by step on how to do it.
Now that you’ve got your pumpkins prepped and ready, onto the fun part!! DECORATING!
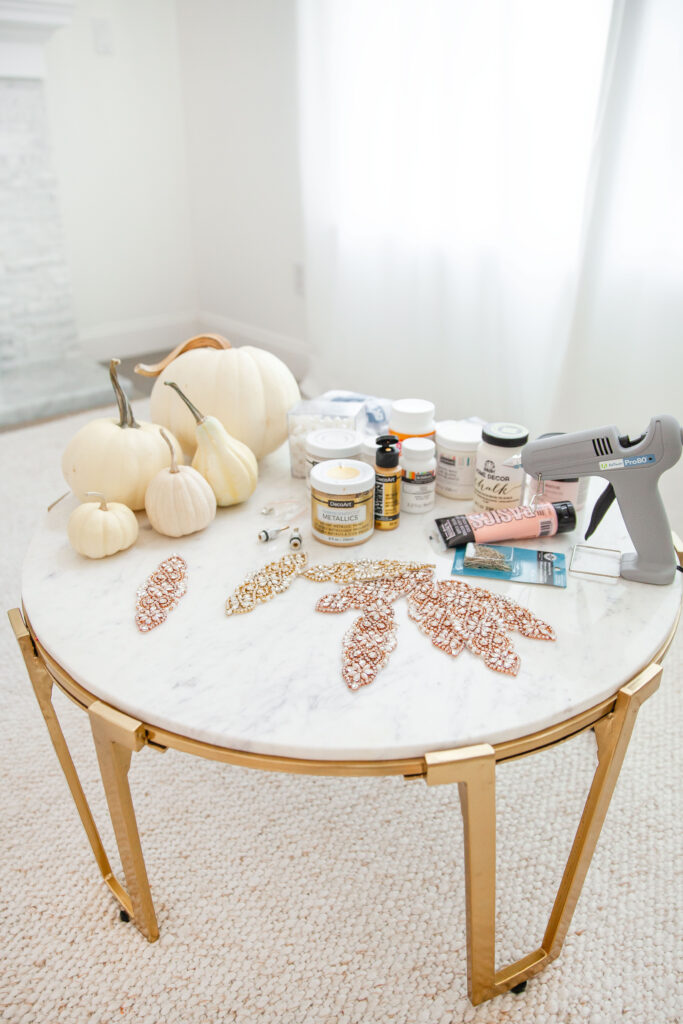
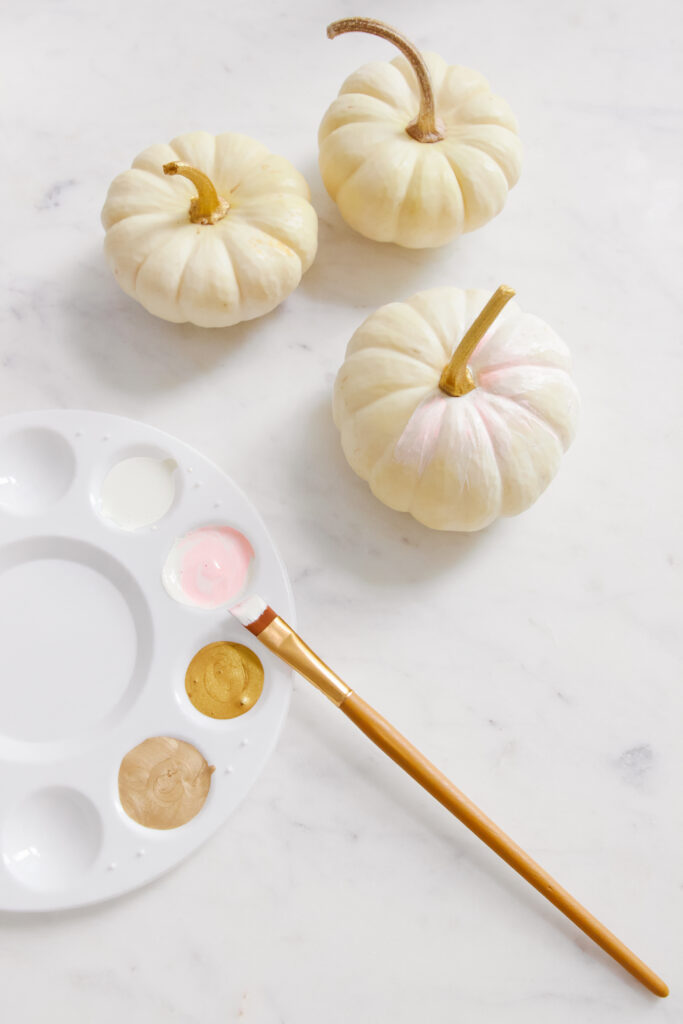
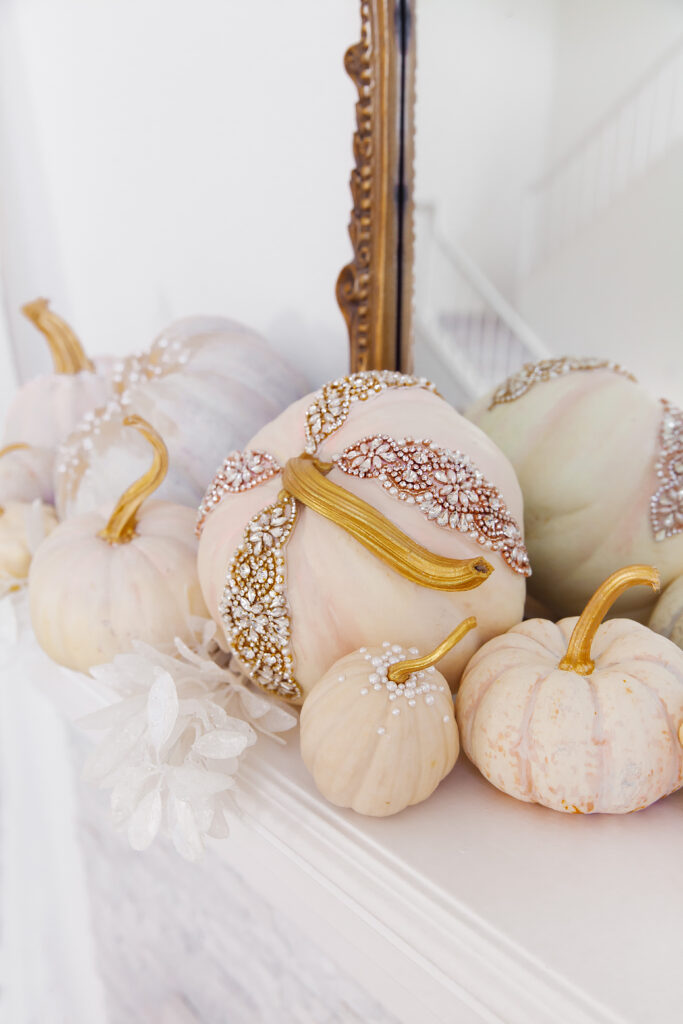
First up is painting. I went with a variation for this project. For the darker pumpkins, I used a beige chalk paint, to give them a neutral look, keeping the paint to a single thin layer to let the natural color peak through just a touch. For the naturally white pumpkins I used a wax paint, which is meant to put over distressed furniture paint. It’s semi sheer, thus perfect for giving just a touch of color, while keeping the natural look of the pumpkin. I added tiny strokes of blush paint to the ridges of the pumpkins for a whimsical touch, mixing the blush paint 70/30 with the wax paint for this and using a thin paint brush. And finally, we’ve got those cute stems to paint! I went with this gilded gold paint, which I put on, after using the beige chalk paint on all the stems. Paining them beige (or white) first, will make the gold pop much more than if you paint over the dark stem.
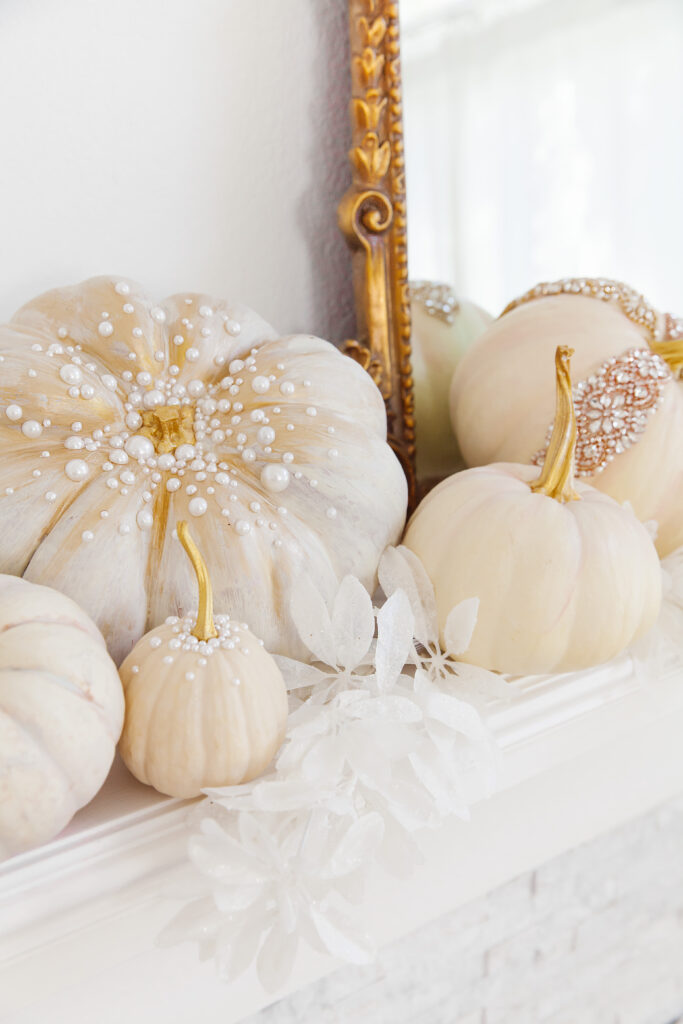
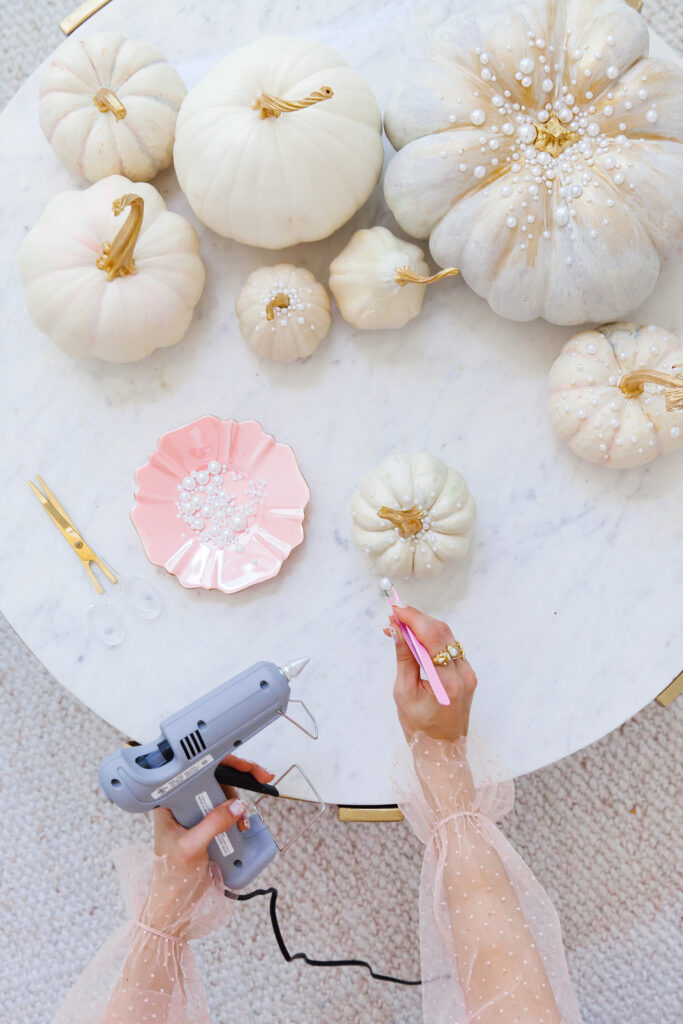
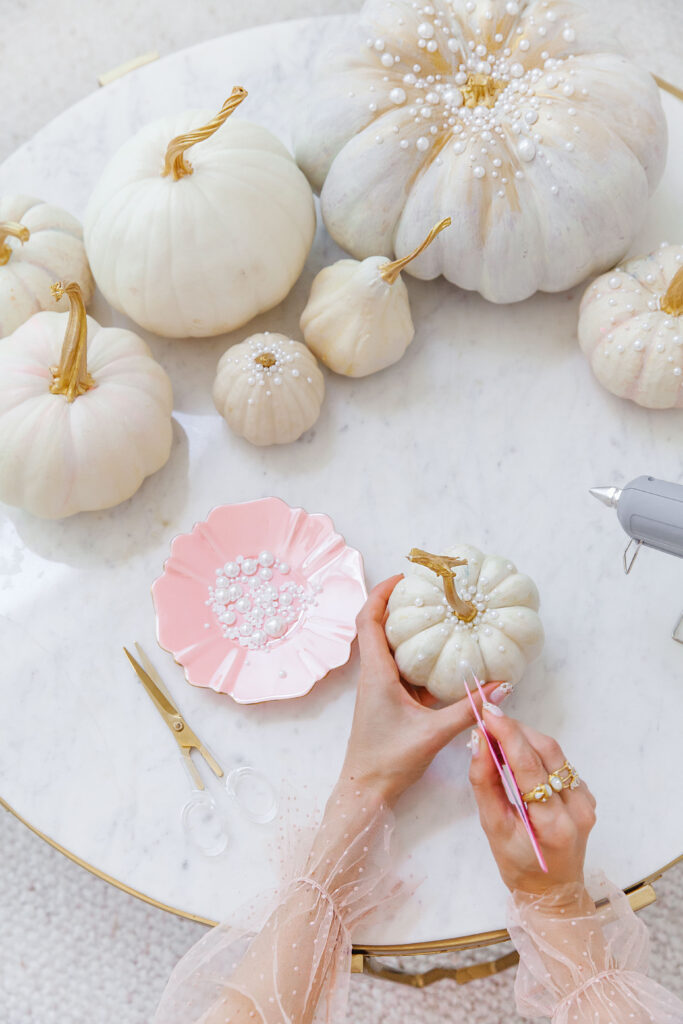
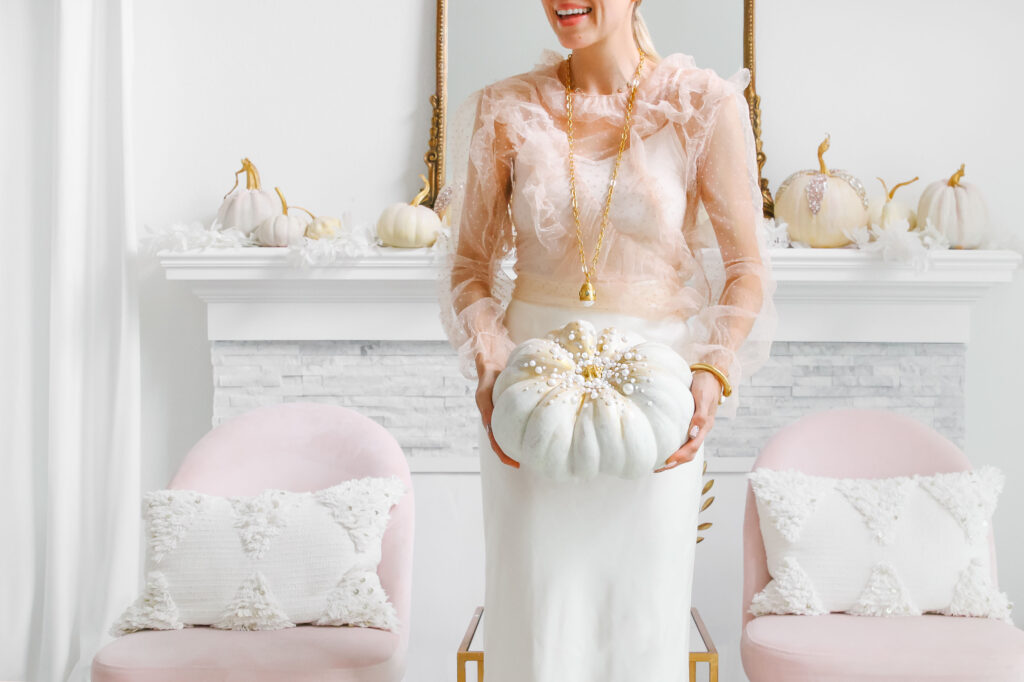
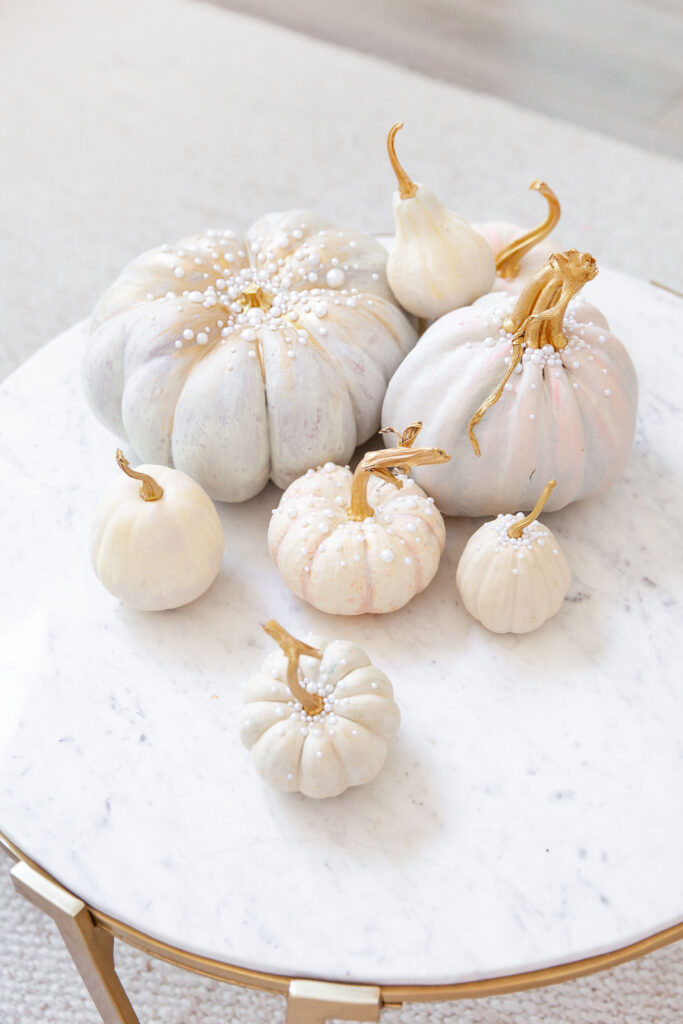
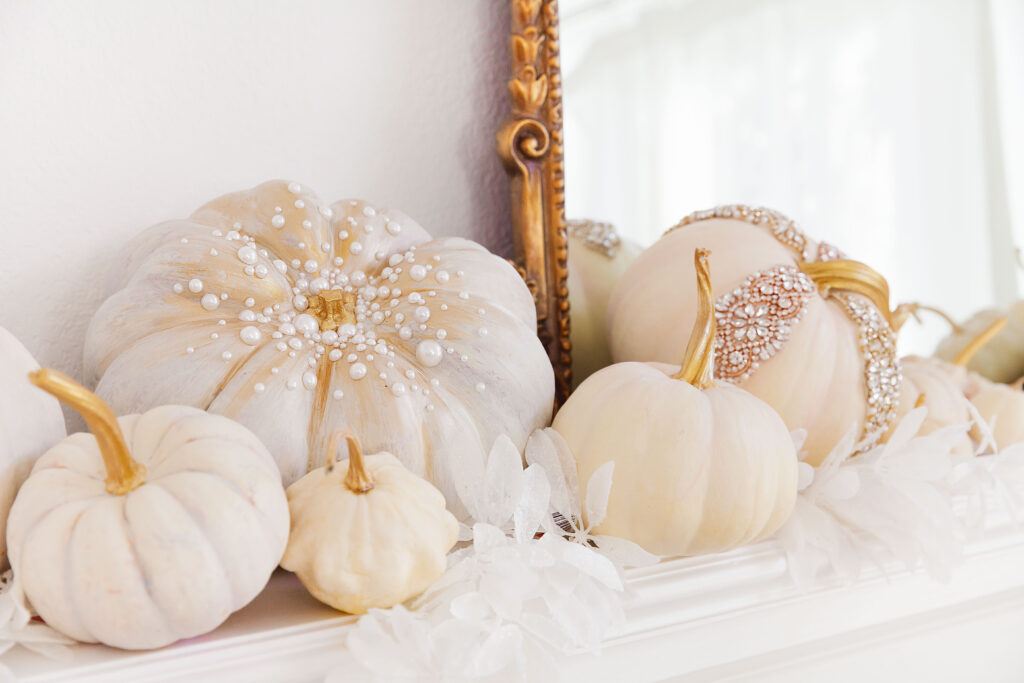
Give your pumpkins a full 24 hours to dry. Especially the ones you use the wax paint on. After that it’s time to decorate! With pearls being so on trend this fall, I knew I wanted to incorporate them in some way. I decided to go with the flat back pearls in assorted sizes to add dimension to the look and again, make it look more intricate aka expensive. I found this super affordable assorted pack, which also comes in many other colors. I almost went with the gold but stuck with the classic pearl in the end. Don’t be intimidated by the look of these, it is literally the easiest DIY you’ll ever do! Just throw on a good show in the background or some music and grab your tweezers and a hot glue gun!
A few things to note: the hot glue dries very fast. I’ve found that holding the gun in one hand and grabbing the peals and immediately applying them to the pumpkin with the other is the way to go. You can also use regular glue but you’ll run the risk of the pearl sliding around while it dries.
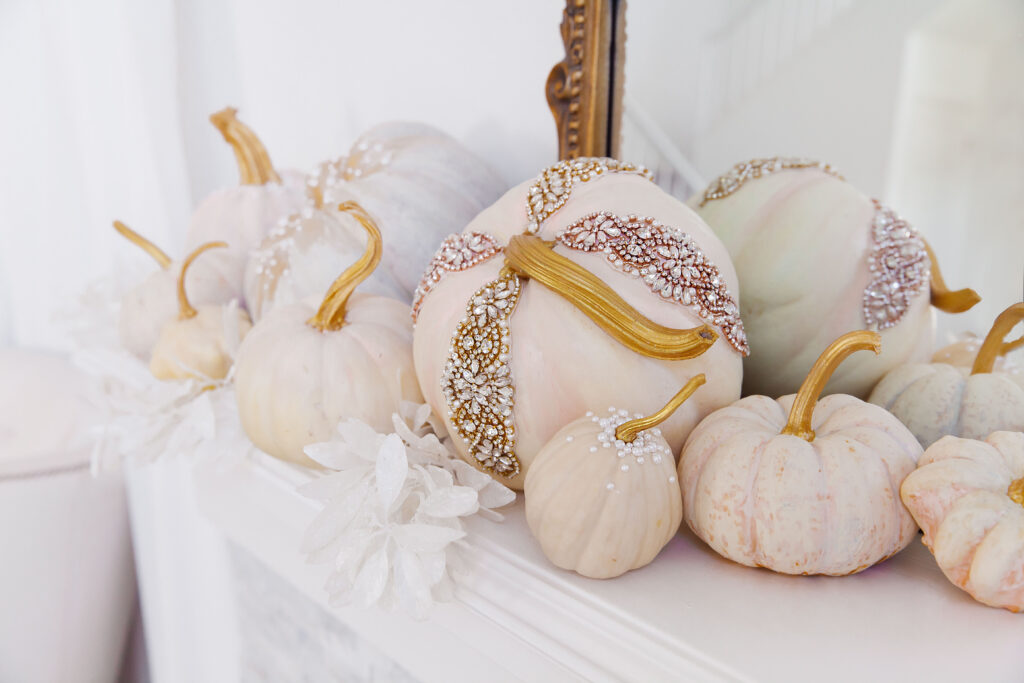
There are endless ways you can choose to have your pearl design. I went with this cluster spray, which I think looks very whimsical. Start with covering the entire base of the stem and then glue less and less pearls as you go farther out. Then just eye your pumpkin for spots which might need more pearls.
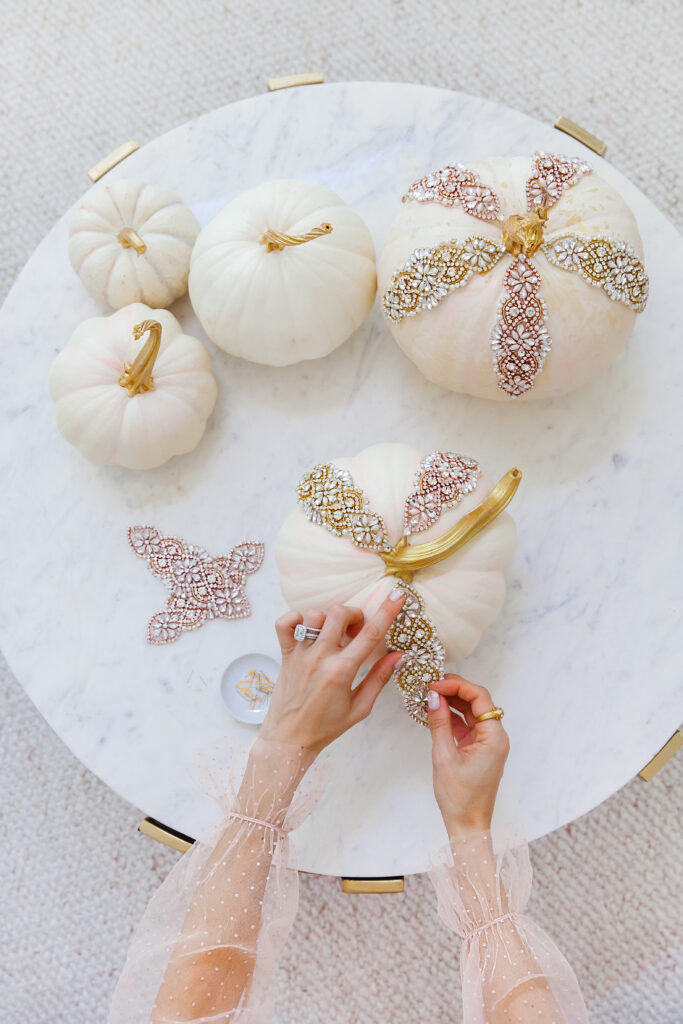
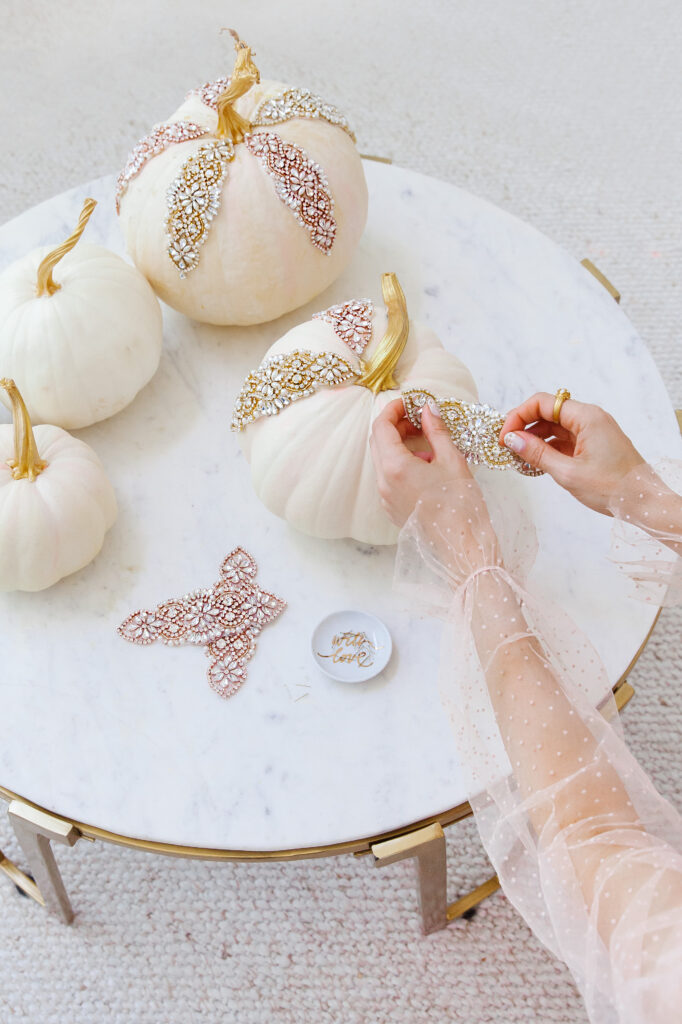
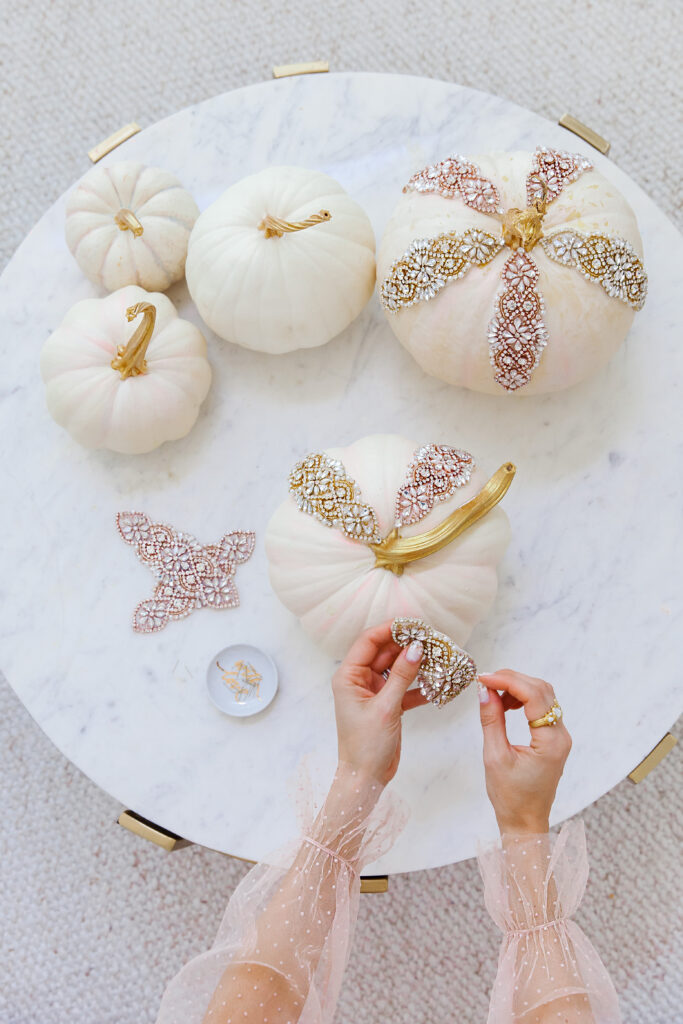
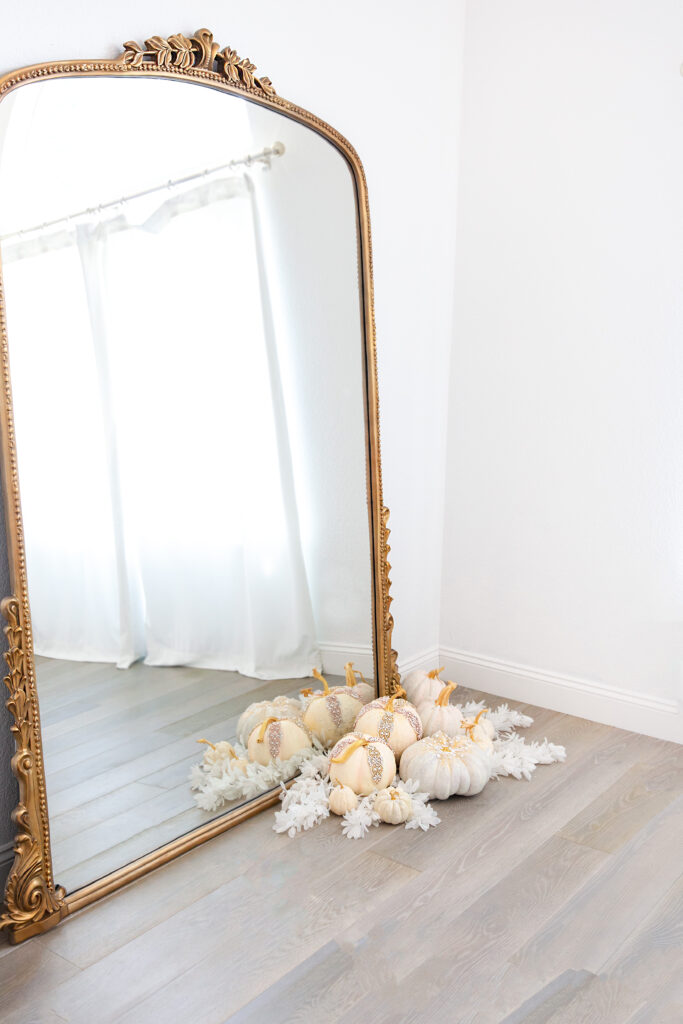
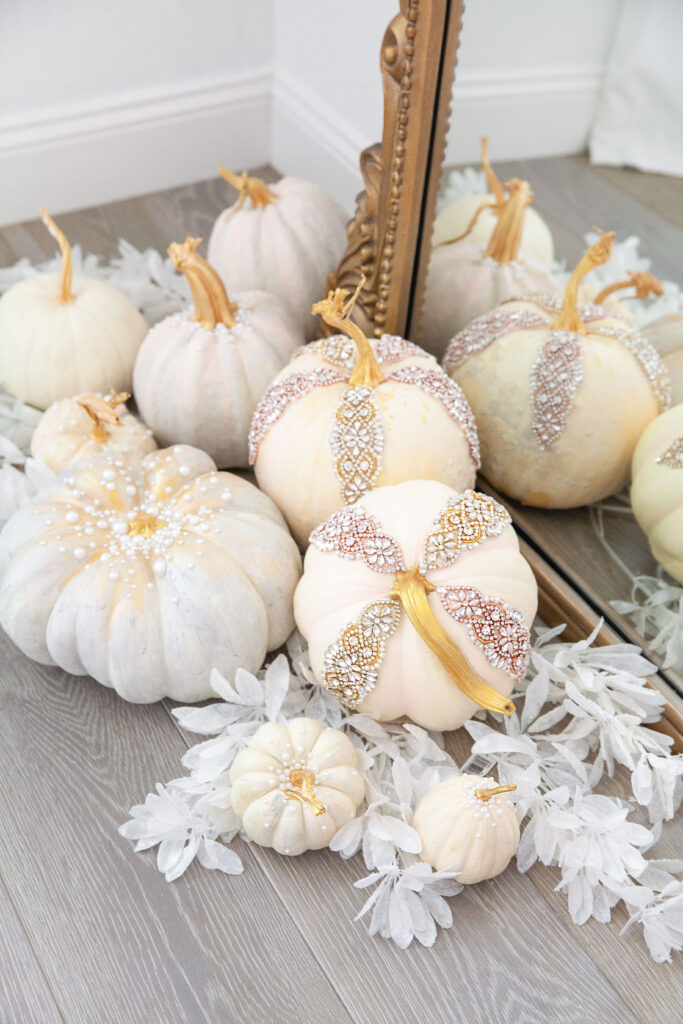
Next up, our fancy shmancy rhinestone applique pumpkins! When I stumbled upon these applique pieces I literally squealed with happiness. I’ll link multiple choices and price points you can choose from, but this 5 pack is definitely the most affordable deal! And the best part, we are going to apply them in a way that makes them reusable for many projects to come. All you need for this are some sewing pins and your applique pieces. Place your piece at the stem and lay it flat on the pumpkin. (I mapped out the pieces first to check placement and balance them out evenly) Then simply pin down the four corners, placing your sewing pins like little nails into the applique. I added some additional pins in places that may have not laid as flat as needed. When your pumpkin is at it’s crafty end and Christmas time is nearing, just use your tweezers to grab the top of the pins and yank them out, and your sparkly pieces are safe for the next project!
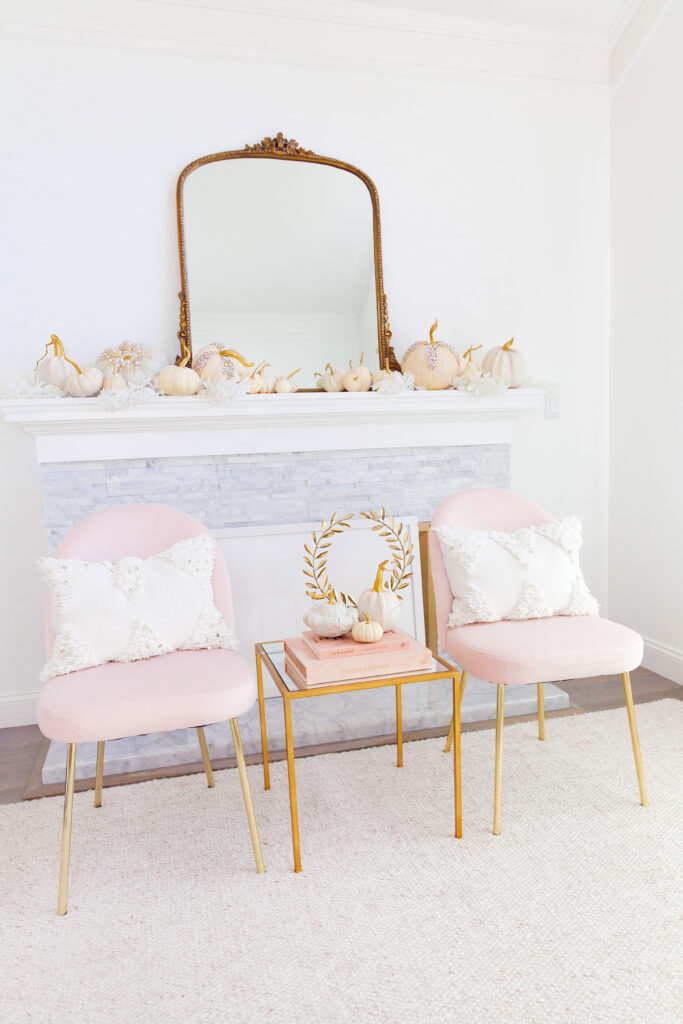
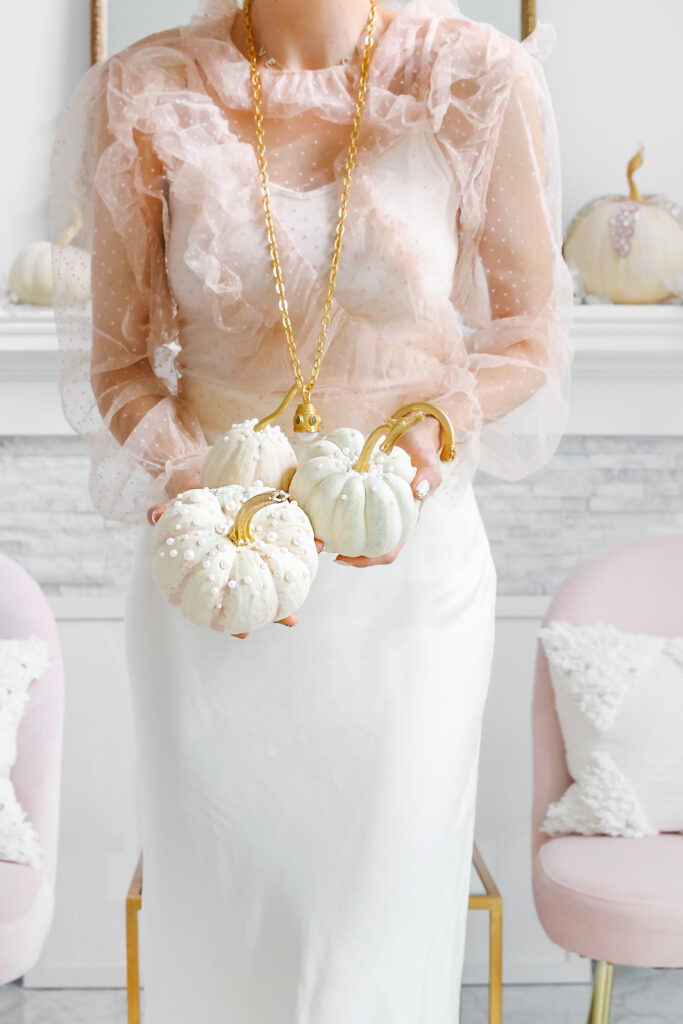
The fun part with a project like this is you can go as big or small as you want and achieve a great effect. You can choose both or either of the pearl or rhinestone motifs and end up with a beautiful table top or a little accent on your desk. The main point is to let your creativity roam! Can’t wait to see what you guys come up with! And I guess I’ll start thinking about some winter holiday projects I’ll be repurposing the fancy appliqués for!